
My Photography Equipment—and the Thinking Behind It

A camera records what is in front of it. Deciding where to stand, what to include and when to make the photograph requires something else: attention.
My photography equipment gives me different ways to respond to a subject, from the proportions of an interior to a distant mountain ridge. Each tool has a purpose. But the most important part of the process is understanding what deserves to be photographed and how to show it clearly.
For clients, that distinction matters. A comprehensive equipment list does not, by itself, explain whether a photographer understands a building, a space or the intended use of the images. For anyone learning photography, it is equally useful to recognise that more equipment does not automatically lead to more considered photographs.
Before choosing a lens
Before thinking about focal length or exposure, I consider what the photograph needs to communicate.
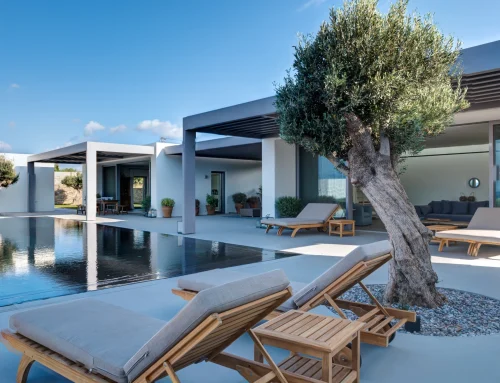
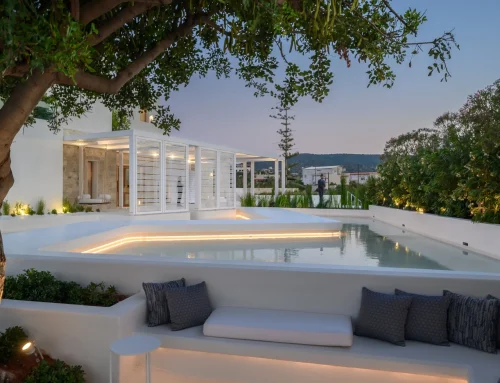
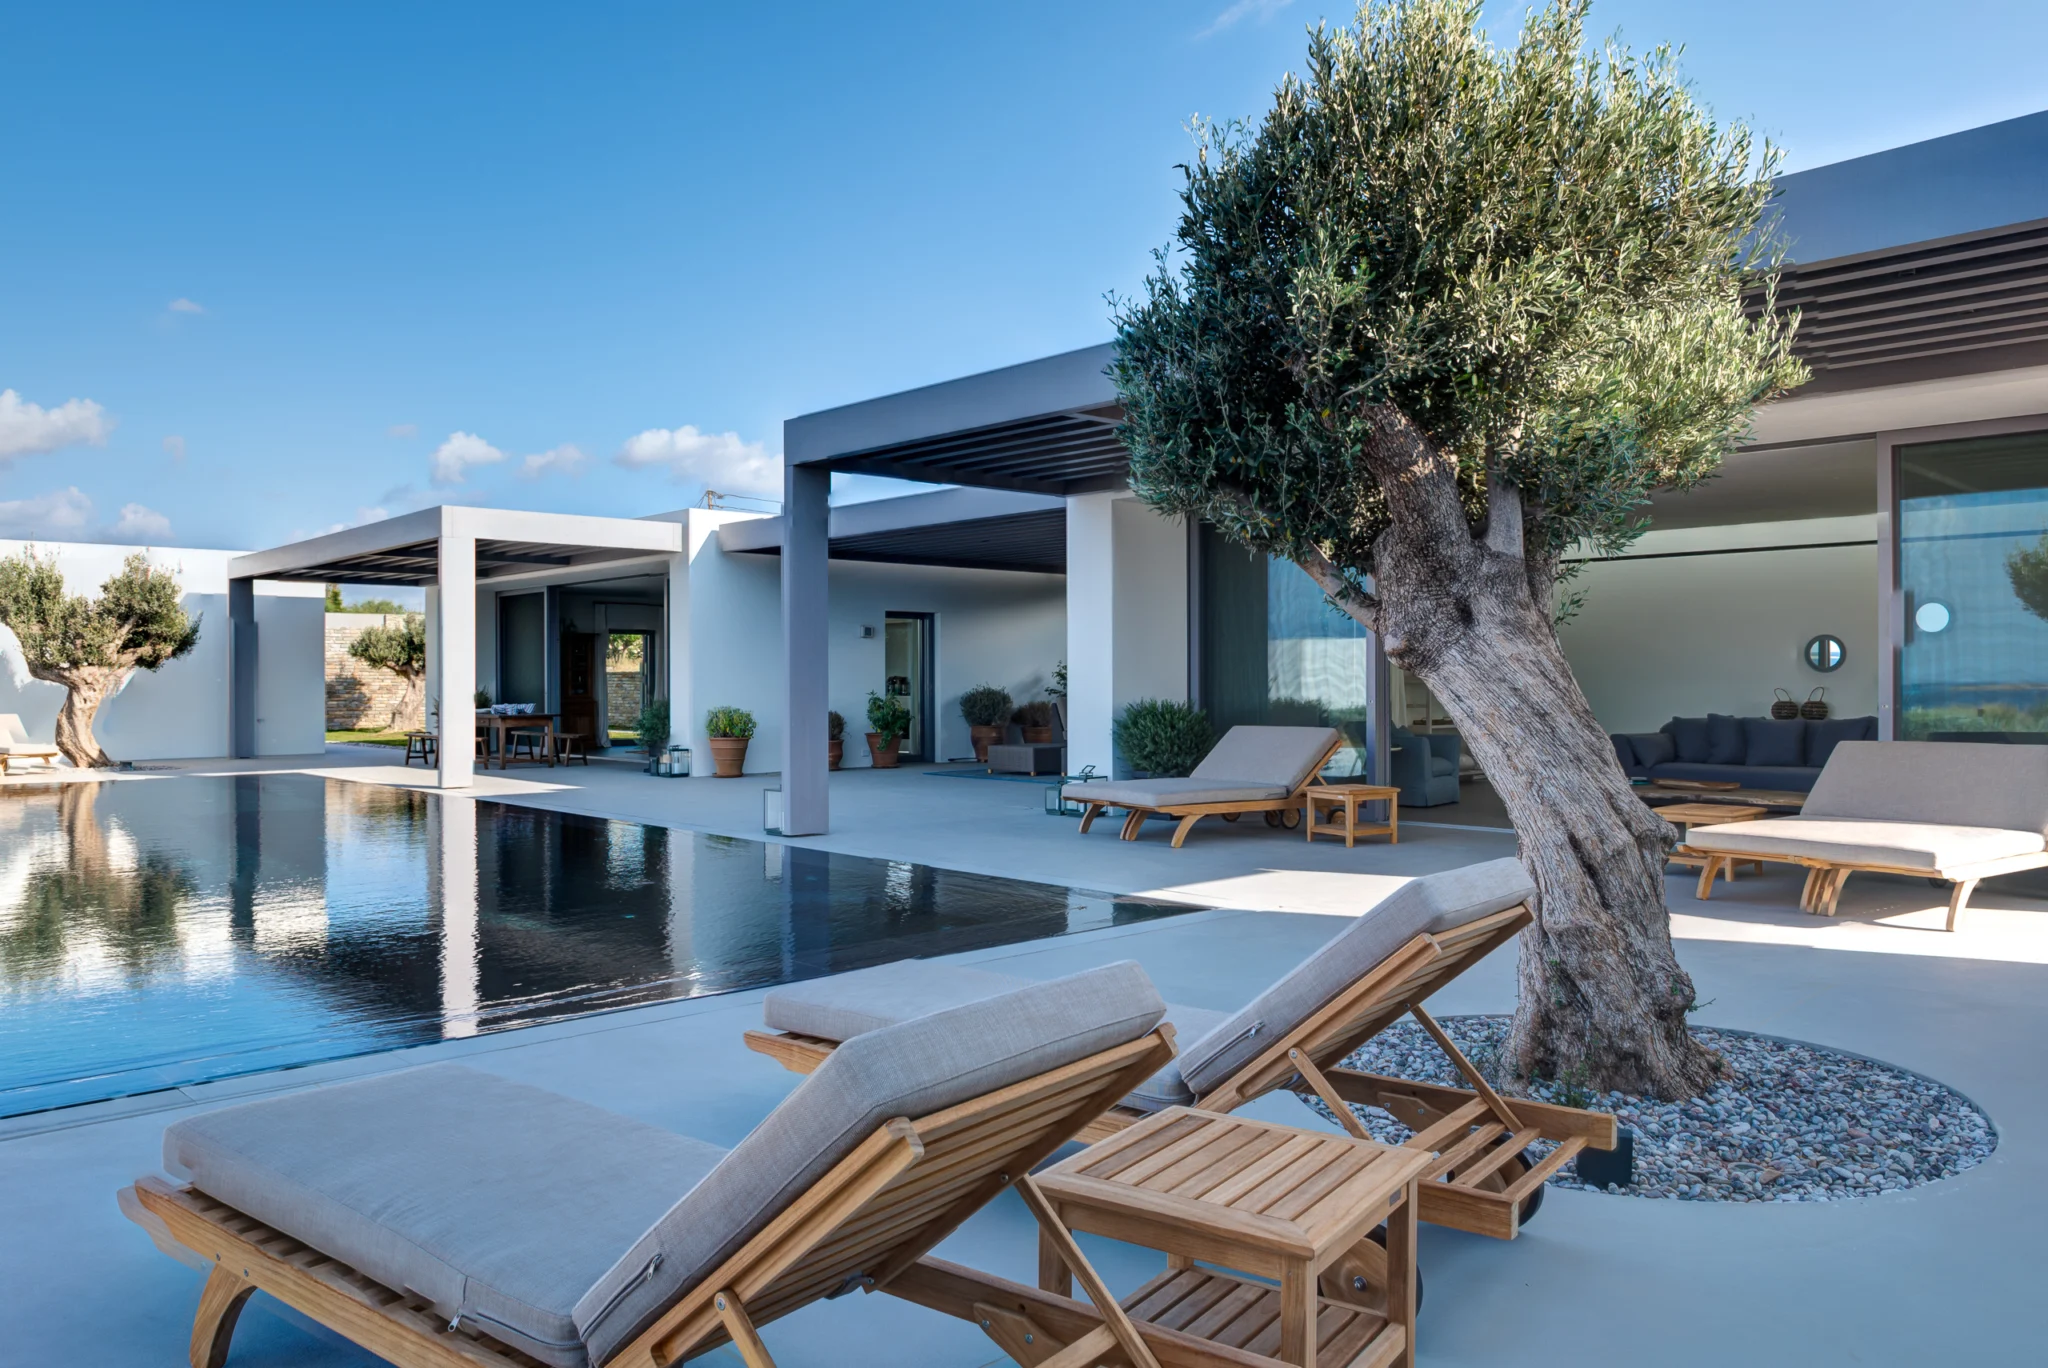
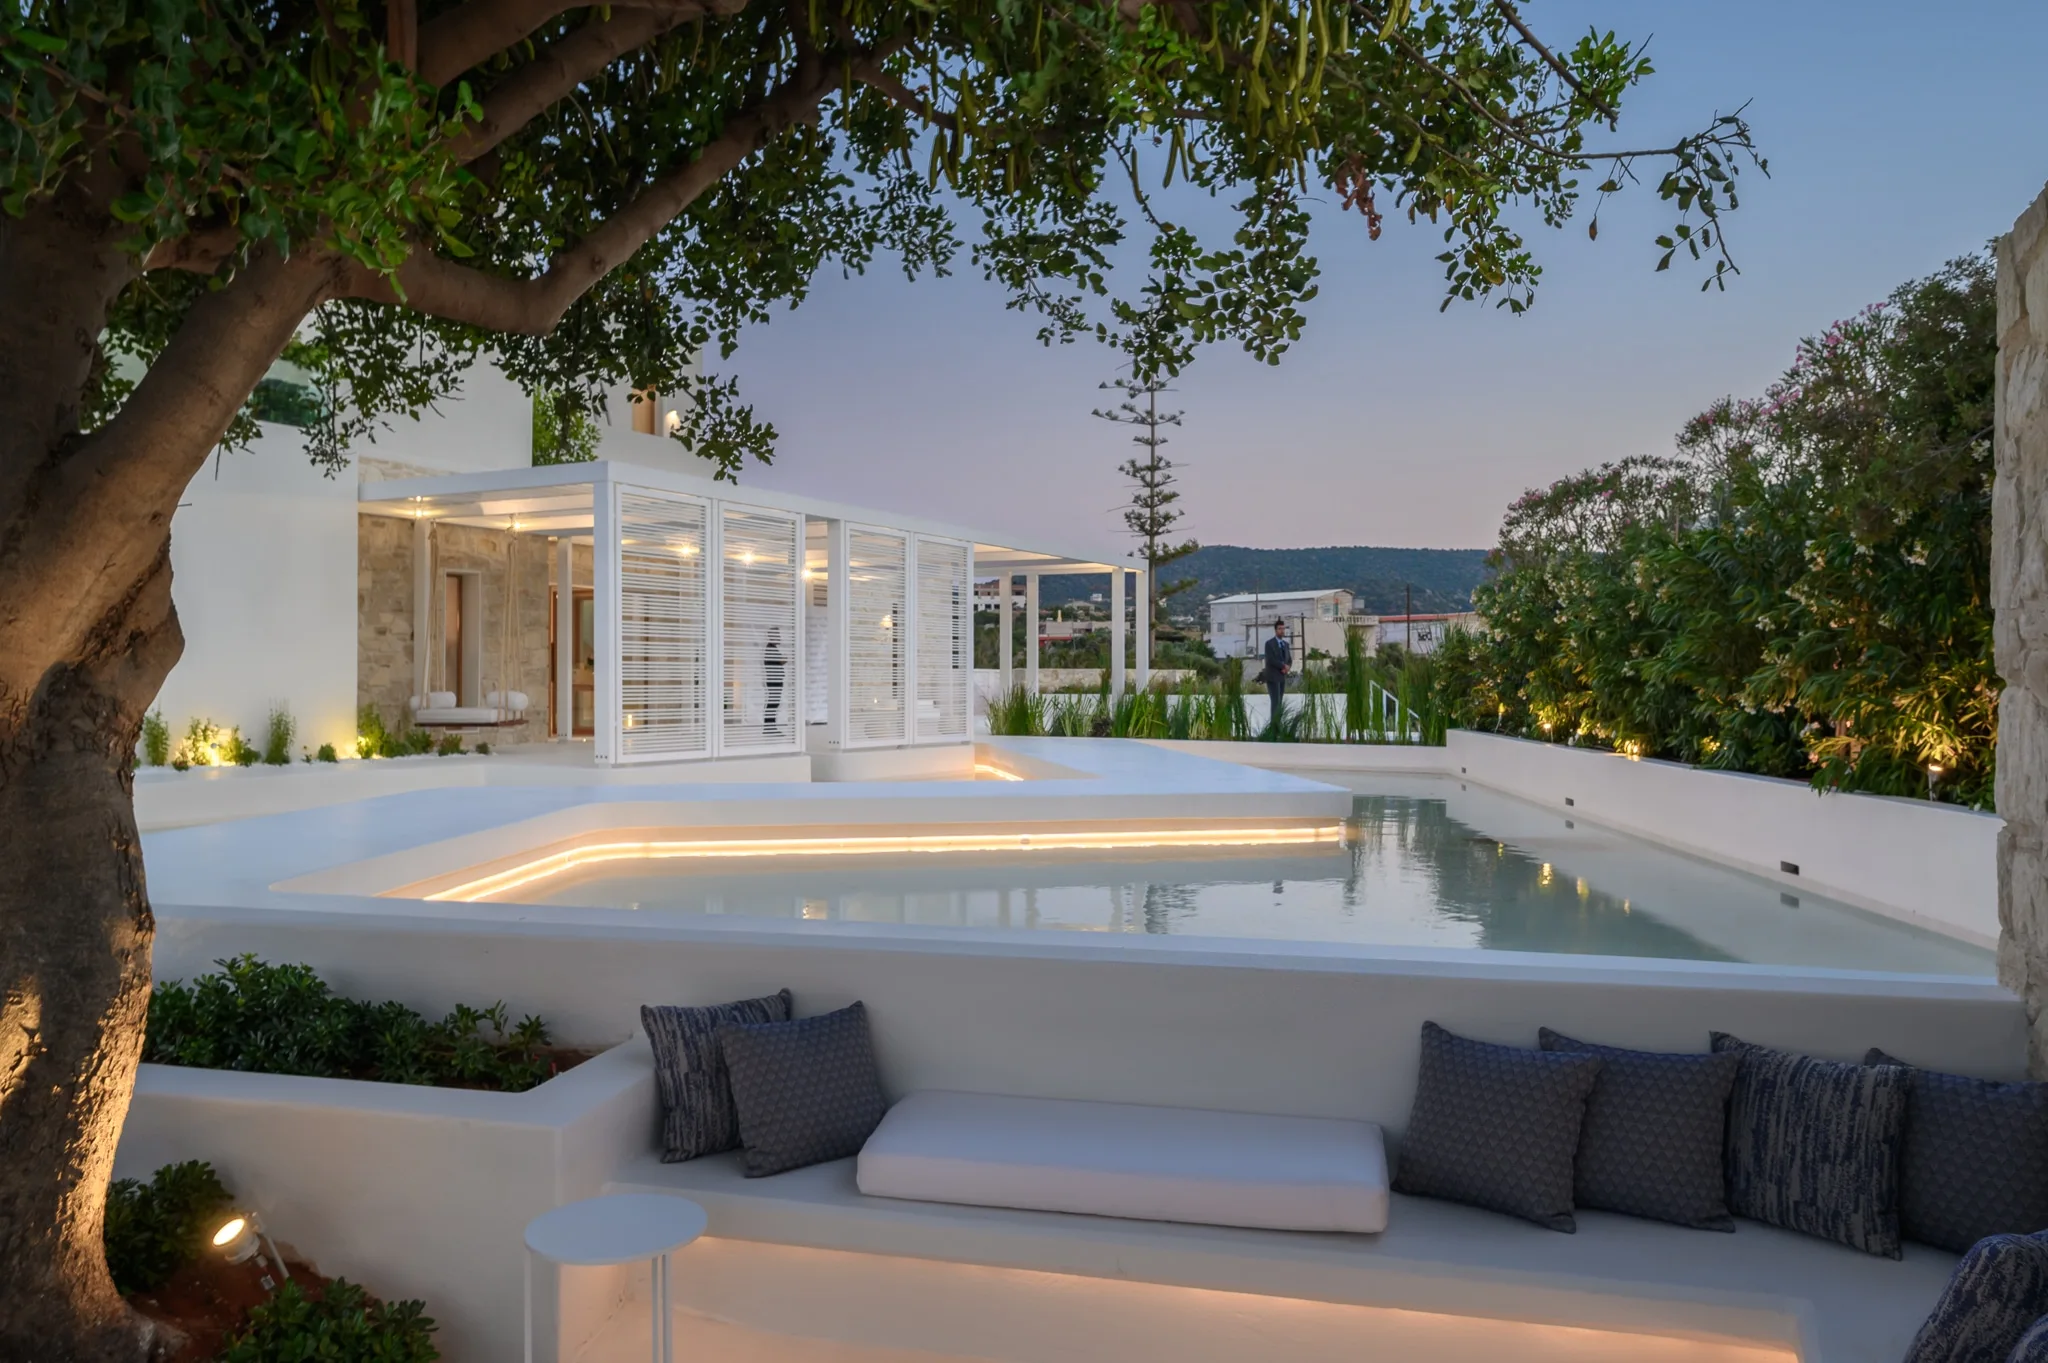
In an architectural interior, that might be the relationship between two rooms, the way daylight falls across a material, or the connection between an enclosed space and the landscape outside. In a travel photograph, it might be a passing gesture, a repeated shape or a small detail that gives a place its character.
The questions come first. Where is the visual emphasis? What gives the scene depth? Does the foreground help explain the subject, or compete with it? Would a slightly different position create a clearer relationship between the elements?
Taking time does not necessarily mean working slowly. It means allowing enough attention for decisions to become intentional. Sometimes the useful adjustment is small: moving away from a doorway, lowering the camera, waiting for a reflection to change, or leaving something outside the frame.
The equipment becomes valuable when it helps answer those questions.
Camera bodies: Nikon Z8 and Nikon Z6
The Nikon Z8 is my primary camera, with the Nikon Z6 serving as a backup.
A camera body needs to support the photograph reliably and provide files suited to their intended use. For architectural and commercial work, that includes retaining useful detail in materials, surfaces and the smaller elements of a composition.
Resolution gives room to work with detail, but it does not compensate for an uncertain viewpoint or a poorly organised frame. A large file can describe a scene precisely while still failing to communicate its character.
The backup body has a practical role, too. Equipment is part of a working system, and having another camera available reduces dependence on a single body. The choice of camera should support continuity and concentration rather than become the centre of the assignment.
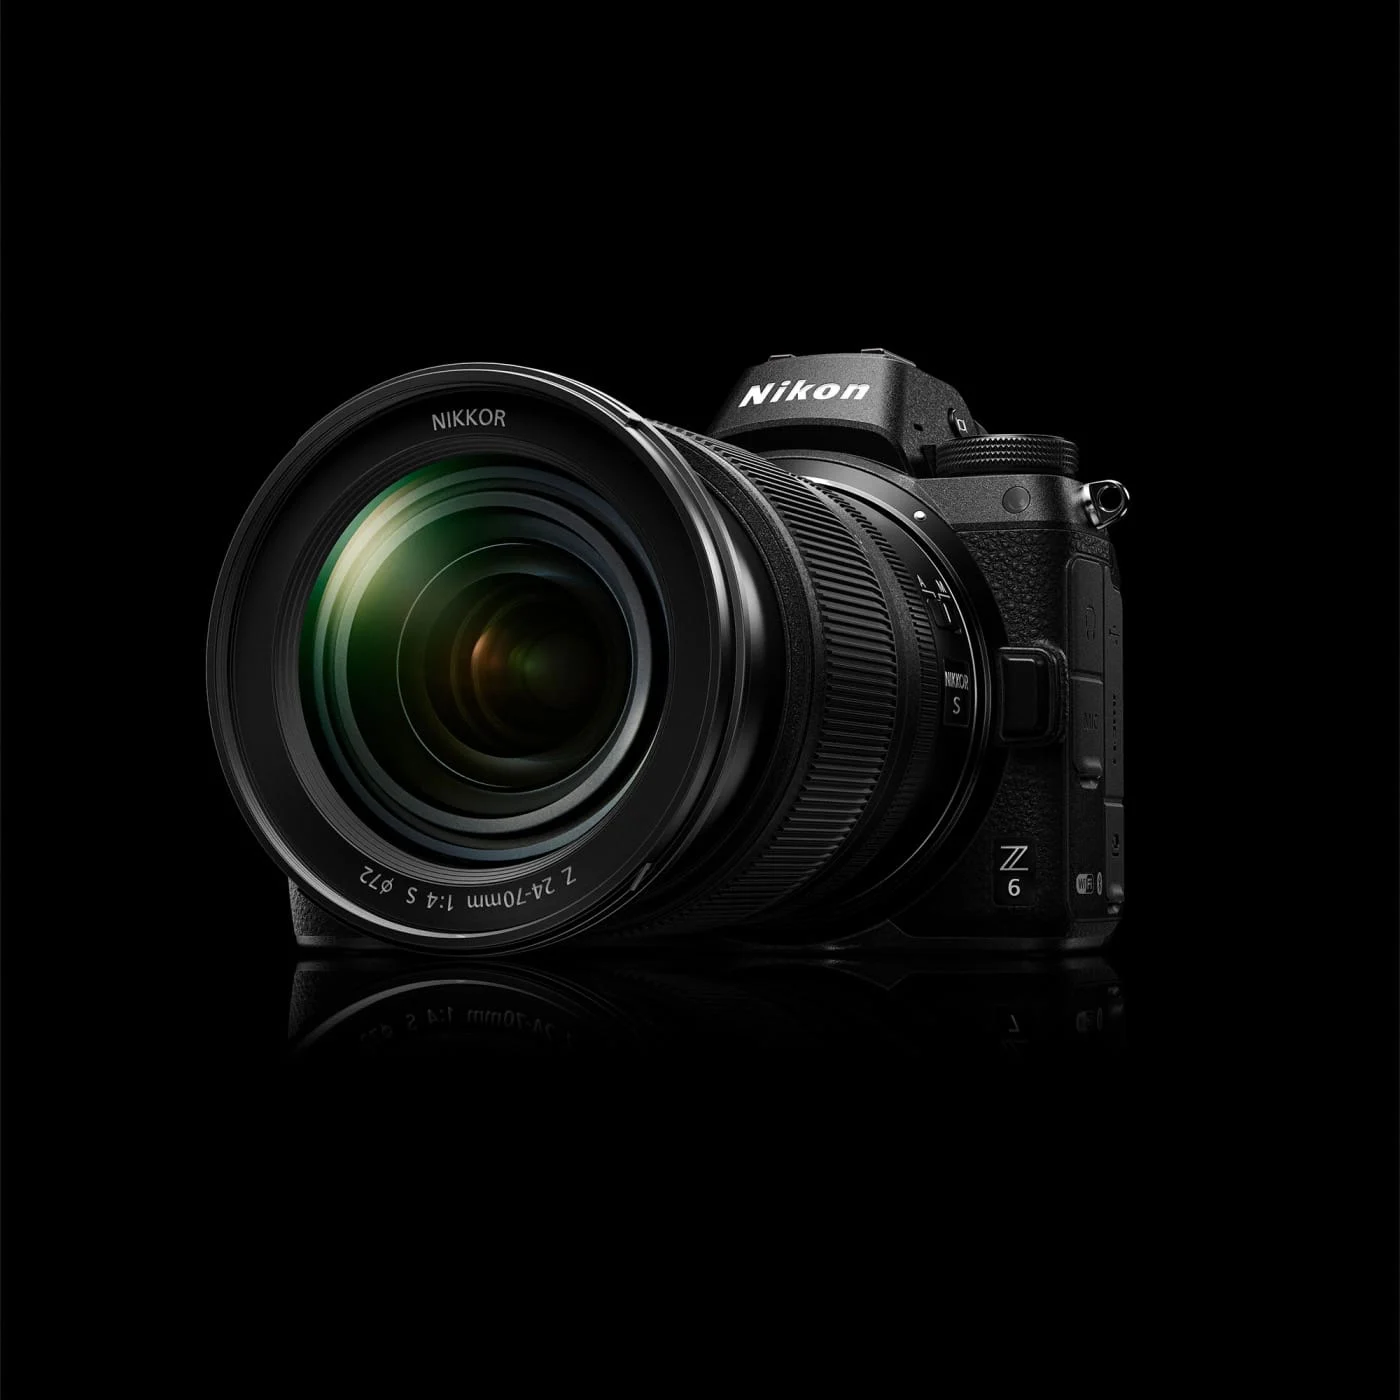
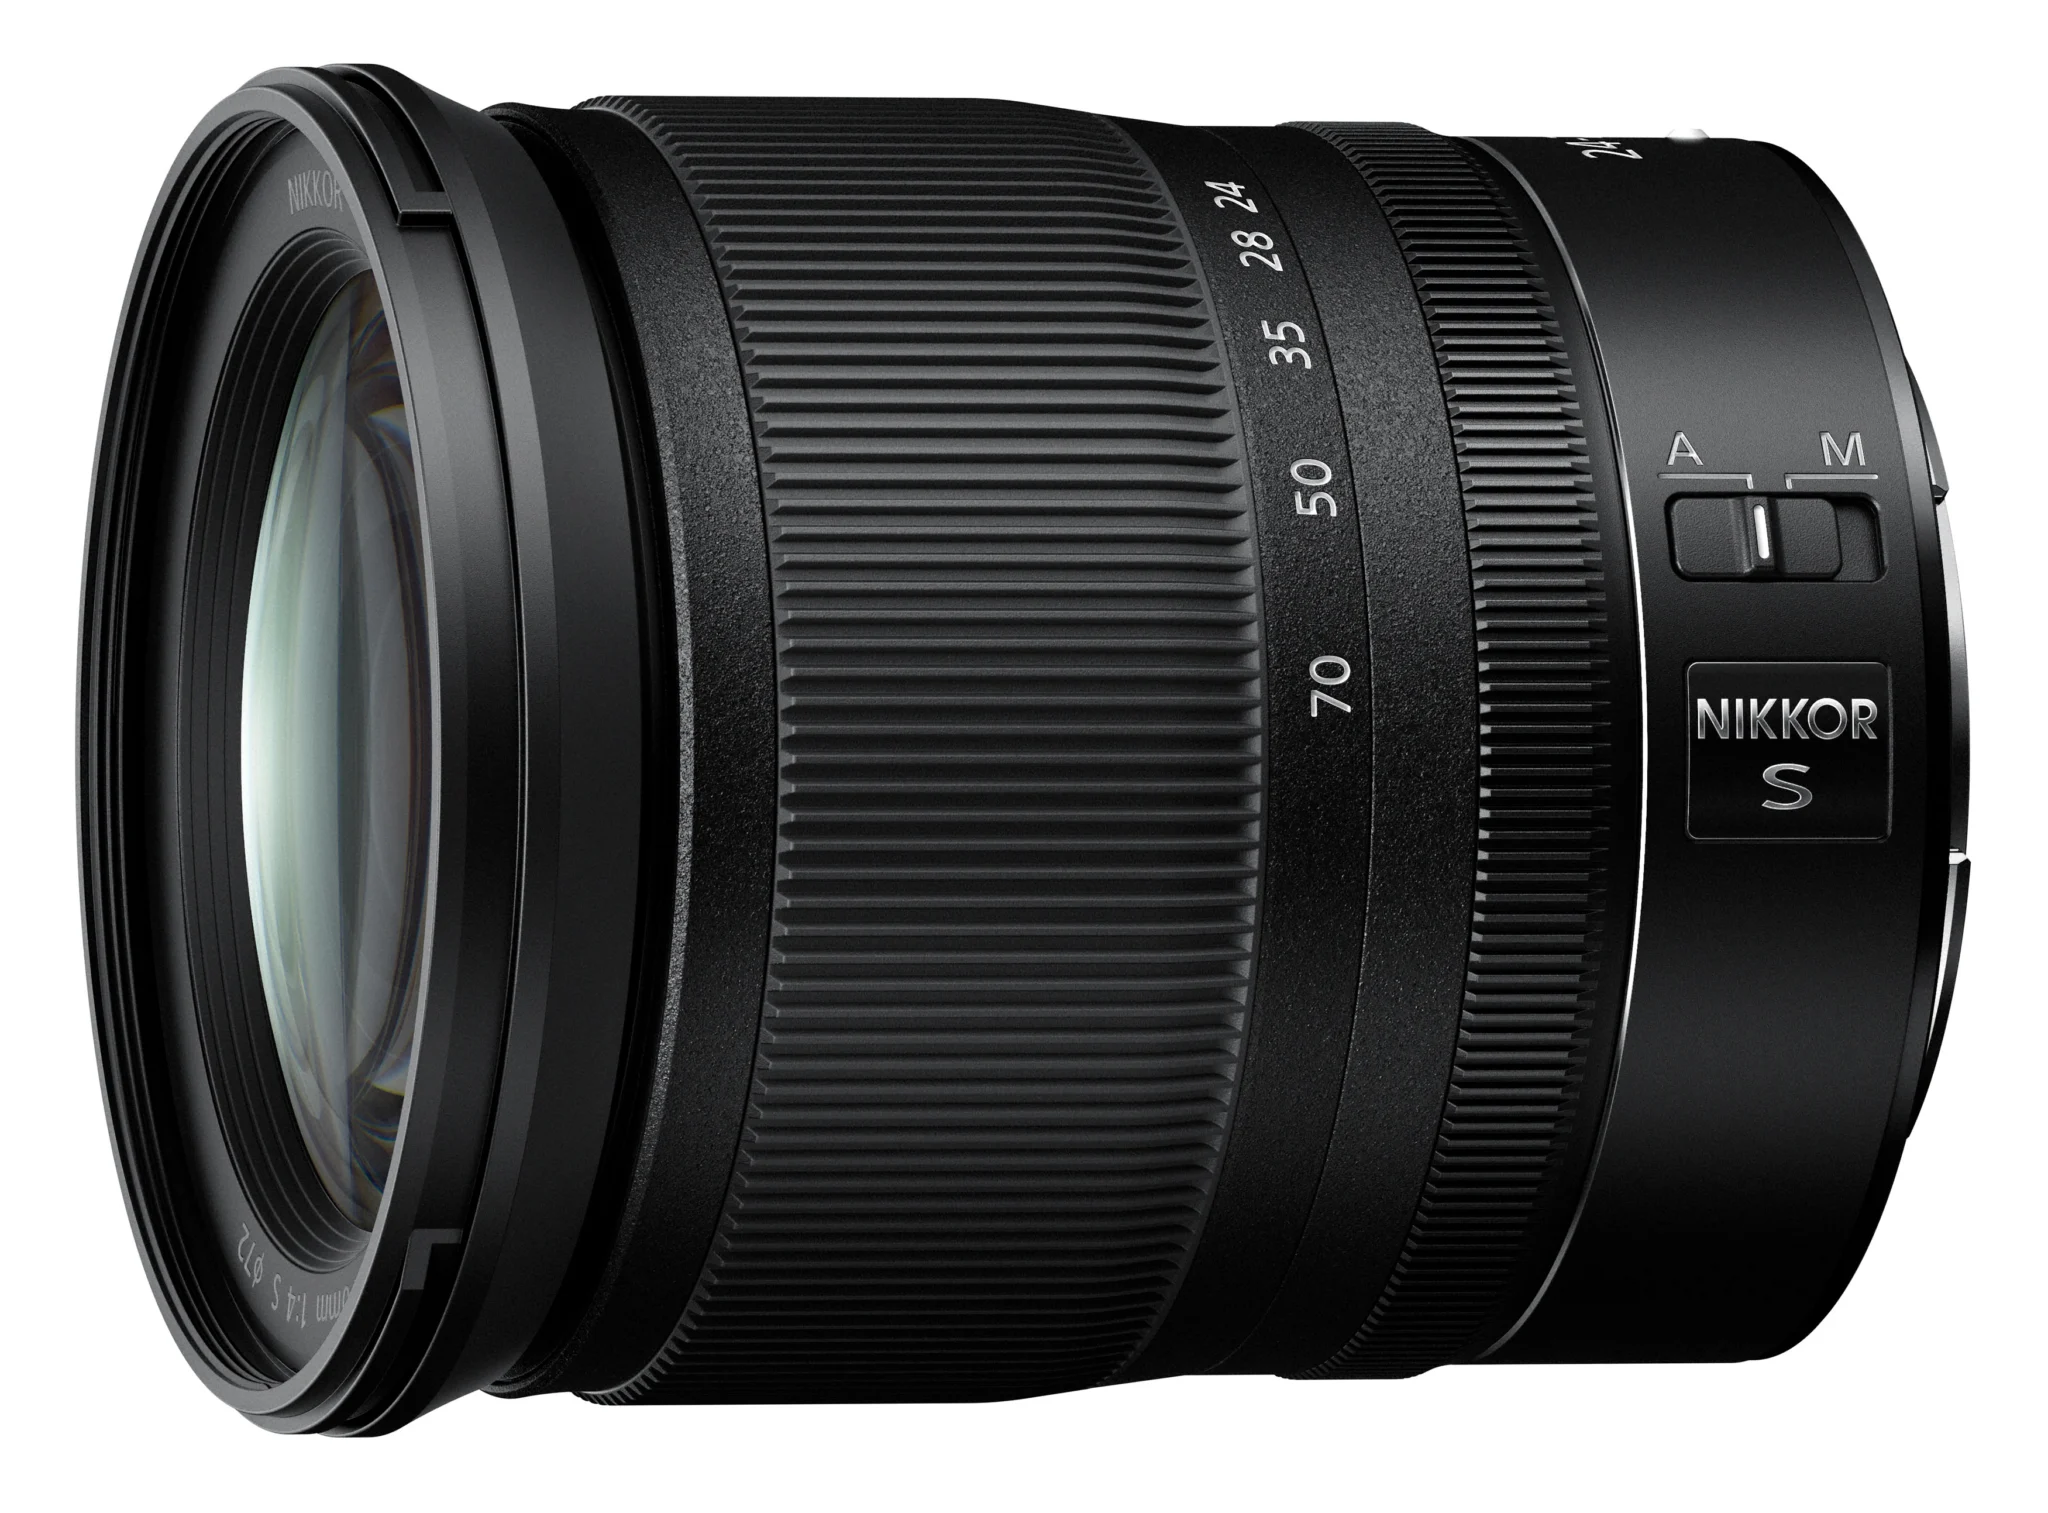
Standard zoom: Nikon Z 24–70mm f/4 S
A standard zoom covers many of the relationships encountered in everyday photography: a room and its furnishings, a building within its setting, or a closer view of a particular feature.
The useful distinction is not simply between fitting more or less into the frame. Focal length works together with camera position. Moving closer with a wider view produces a different relationship between foreground and background from stepping back and using a longer focal length.
For a client, these choices affect how a space is understood. An interior can feel open without being exaggerated, and a detail can remain connected to its surroundings.
For an enthusiast, a standard zoom is a useful tool for learning to recognise those differences. Before changing focal length, consider whether changing position would improve the photograph.
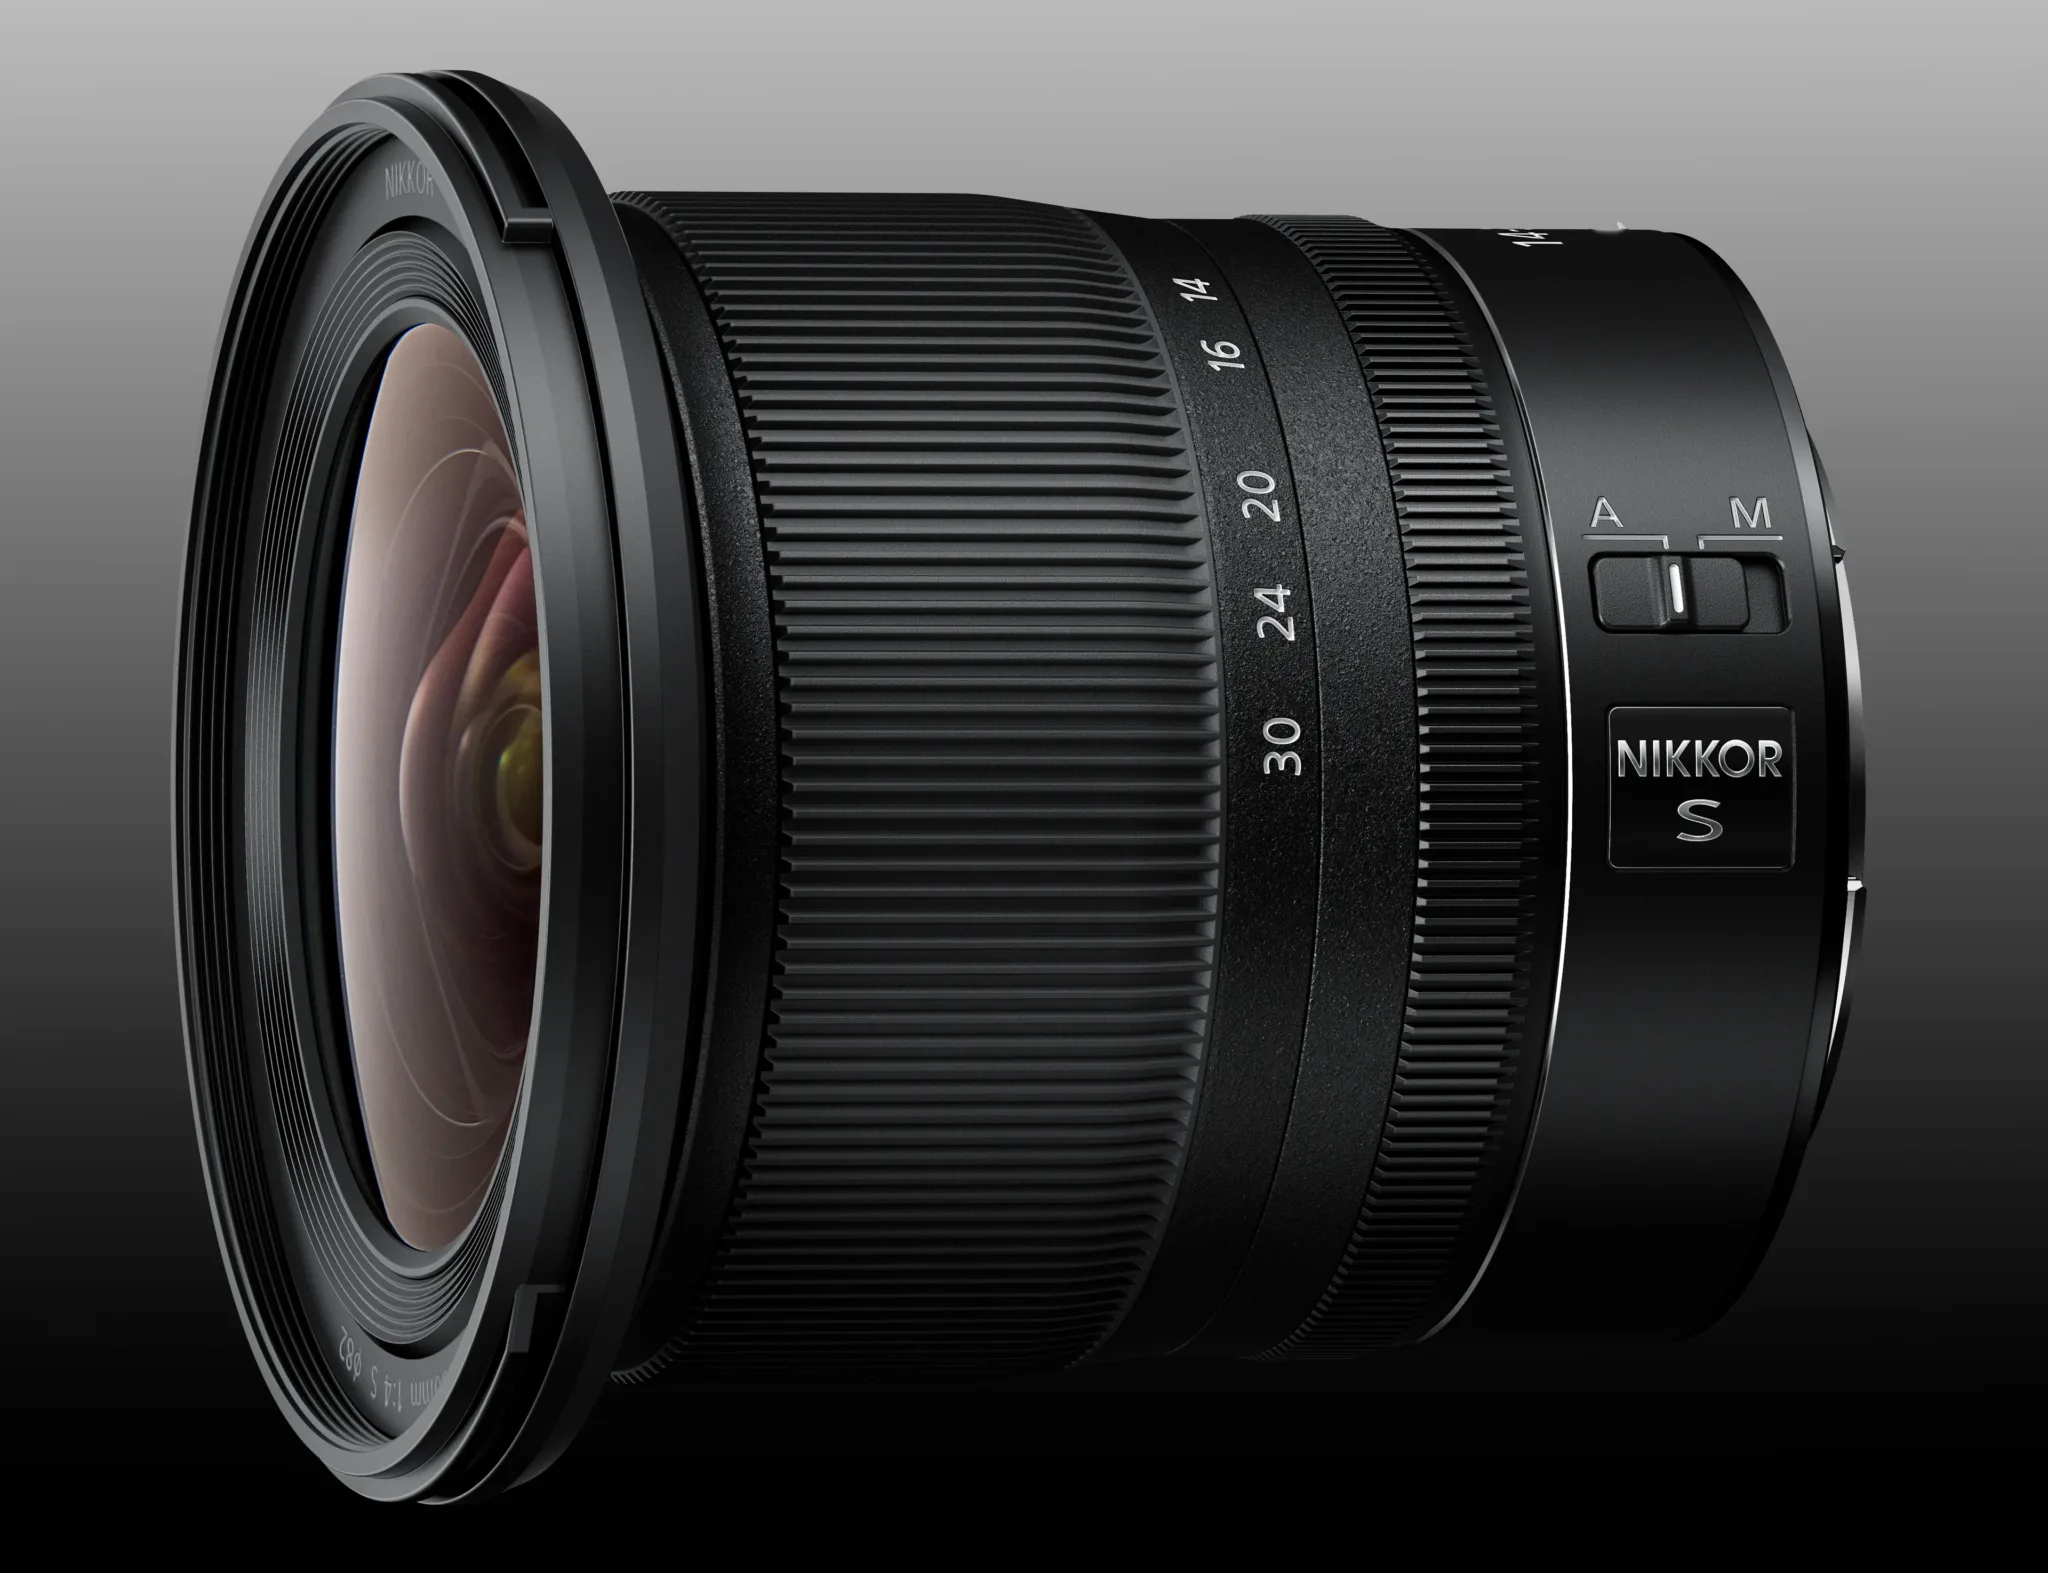
Wide-angle zoom: Nikon Z 14–30mm f/4 S
A wide-angle lens is useful when the photograph needs to describe the relationship between several parts of a space. It can show how a room opens onto a terrace, how a staircase connects different levels, or how a building sits within a broader landscape.
Its value is not simply that it includes more.
A wide view can also make nearby objects disproportionately prominent or introduce unnecessary empty space. Furniture close to the camera may dominate the composition, while an important feature further away becomes too small.
For architectural photography, the challenge is to use that field of view with restraint. Camera position, level and the placement of objects near the edges all deserve attention. The aim is to explain the space clearly while retaining a credible sense of its proportions.
Telephoto zooms: Nikon 70–200mm and Z 100–400mm
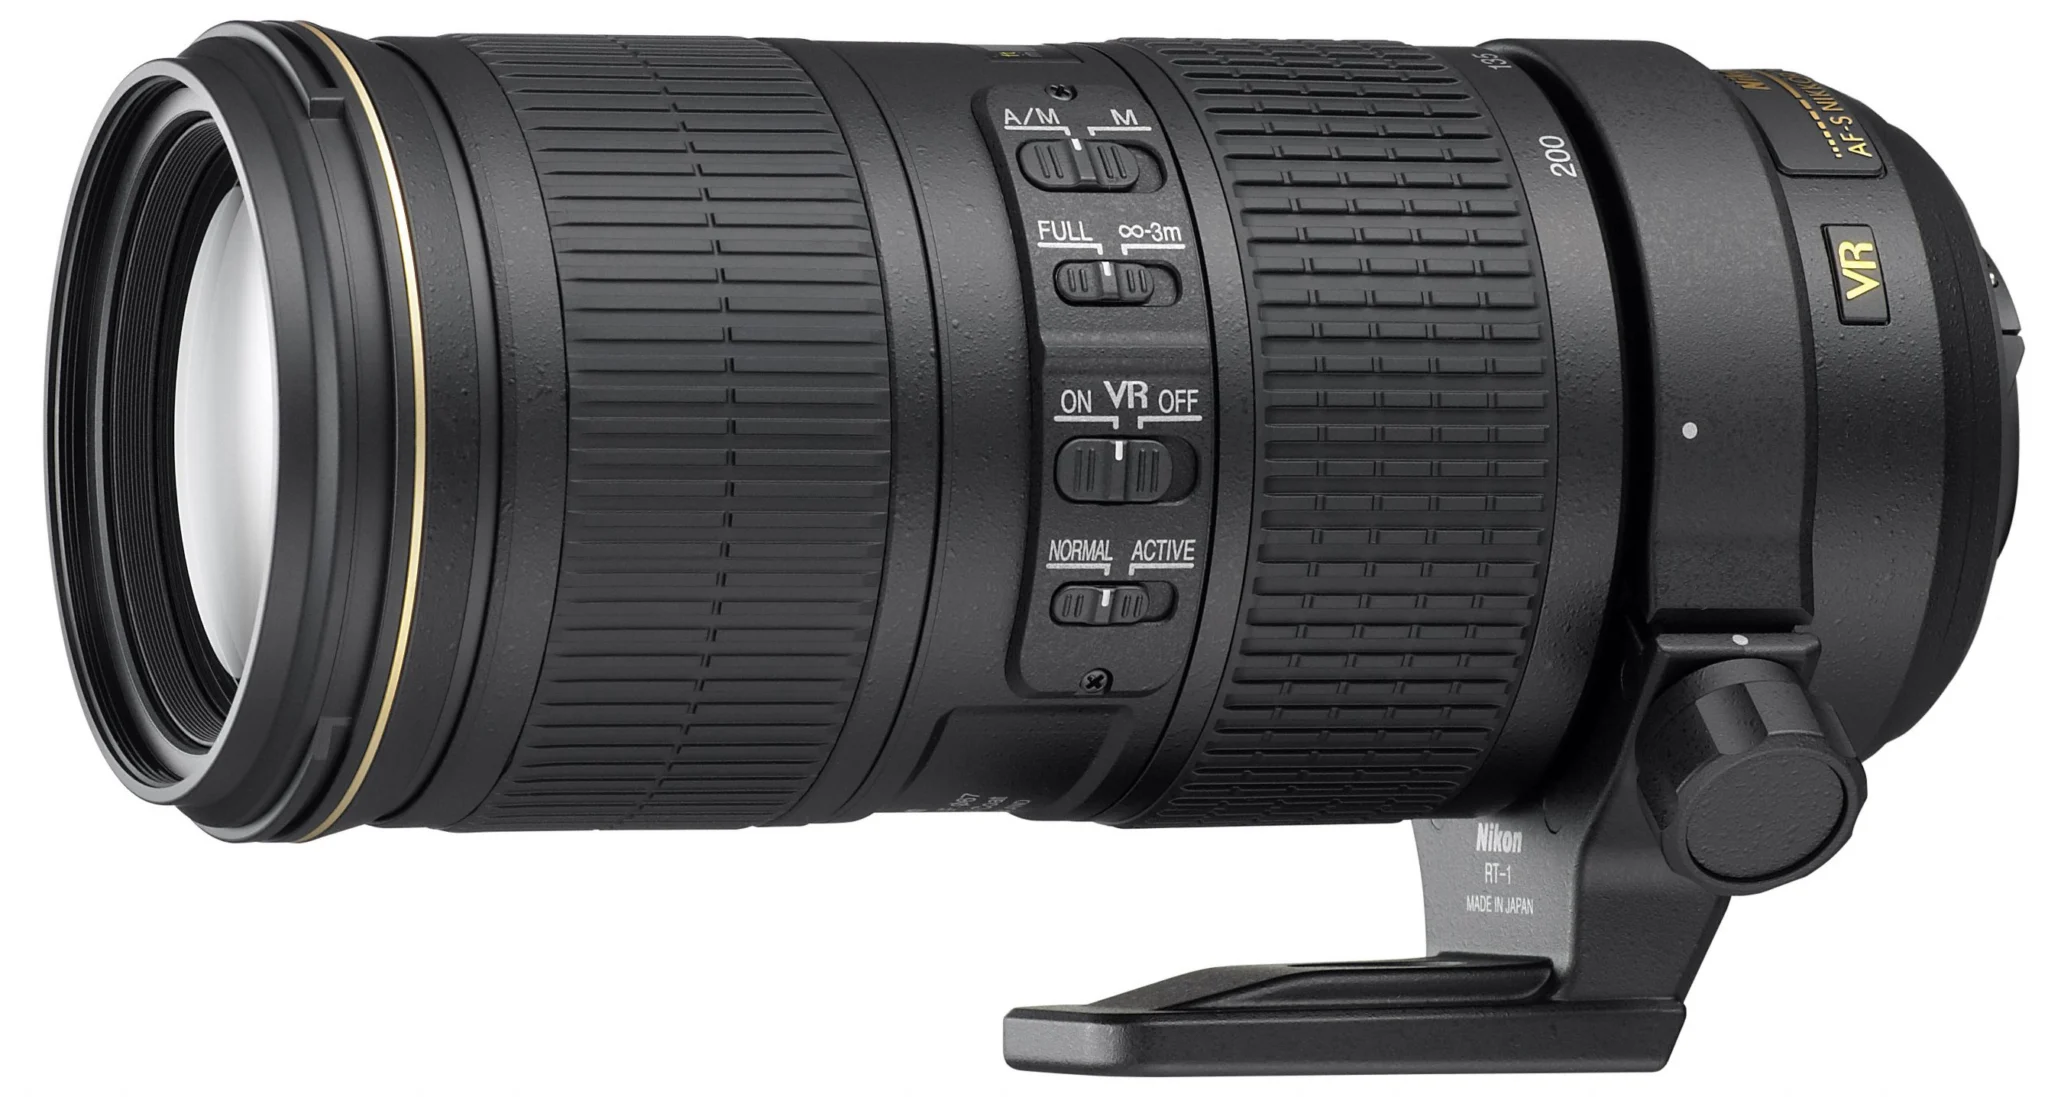
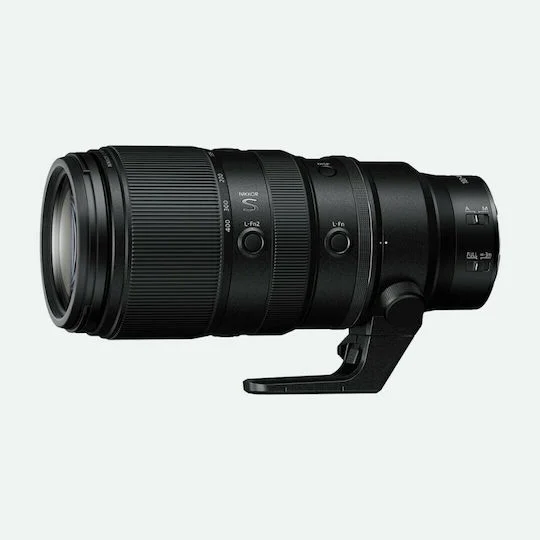
My telephoto lenses are the Nikon AF-S NIKKOR 70–200mm f/2.8G ED VR II and the Nikon Z 100–400mm f/4.5–5.6 VR S.
Longer focal lengths offer a way to simplify a scene. They can isolate a section of a façade, a pattern of balconies, a distant building or a particular relationship between landforms.
They also encourage a different kind of observation. Instead of asking how much of the scene can be included, the question becomes which part carries the strongest visual idea.
In architectural work, a closer view can reveal rhythm, repetition and material detail that a broad establishing photograph cannot describe. In landscape and travel photography, it can separate an individual subject from a visually complicated setting.
The resulting sense of compression is connected to the more distant camera position used for the framing. Understanding that relationship is more useful than treating a telephoto lens only as a way to bring something closer.
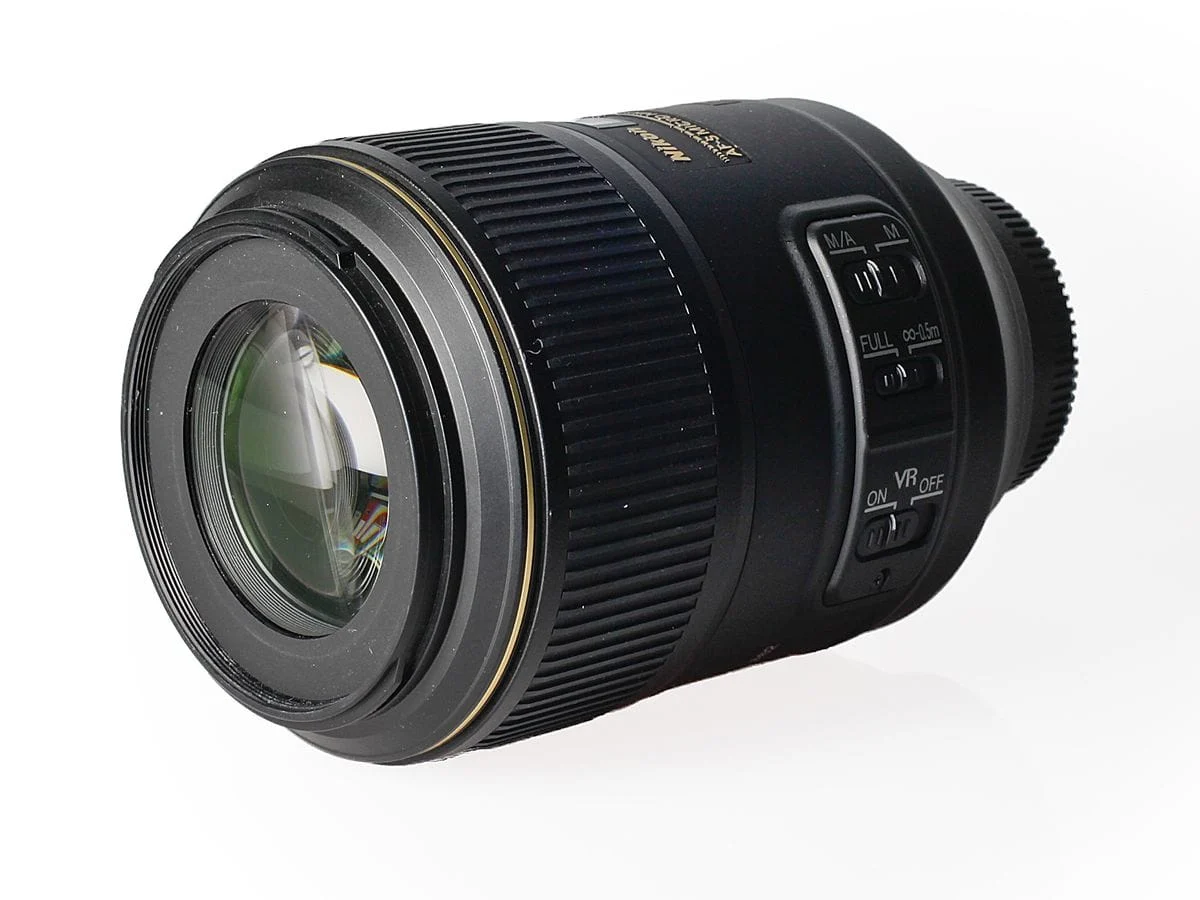
Close details: Nikon 105mm Micro
The Nikon AF-S VR Micro-Nikkor 105mm f/2.8G IF-ED provides a way to examine smaller subjects closely.
Within a broader photographic sequence, detail images can explain something that the wider photographs leave unresolved: the grain of a material, the meeting of two surfaces, or the form of an individual object.
Their purpose should be more than decoration. A useful detail adds information or strengthens the character of the series.
Close framing also makes small distractions more noticeable. A slight change of angle can alter a reflection or the relationship between sharp and softer areas. This is where careful observation becomes particularly important: the frame may contain less, but every element carries more weight.
A fixed focal length: Nikon 50mm f/1.4
The Nikon AF-S NIKKOR 50mm f/1.4G offers a different way of working from a zoom.
With a fixed focal length, the available framing changes through position and distance. That constraint can encourage closer attention to the relationship between the camera and the subject.
A wide aperture offers another creative choice, but a soft background is not automatically the best answer. Sometimes the surroundings are essential to understanding the photograph. The decision is whether separation helps the subject or removes useful context.
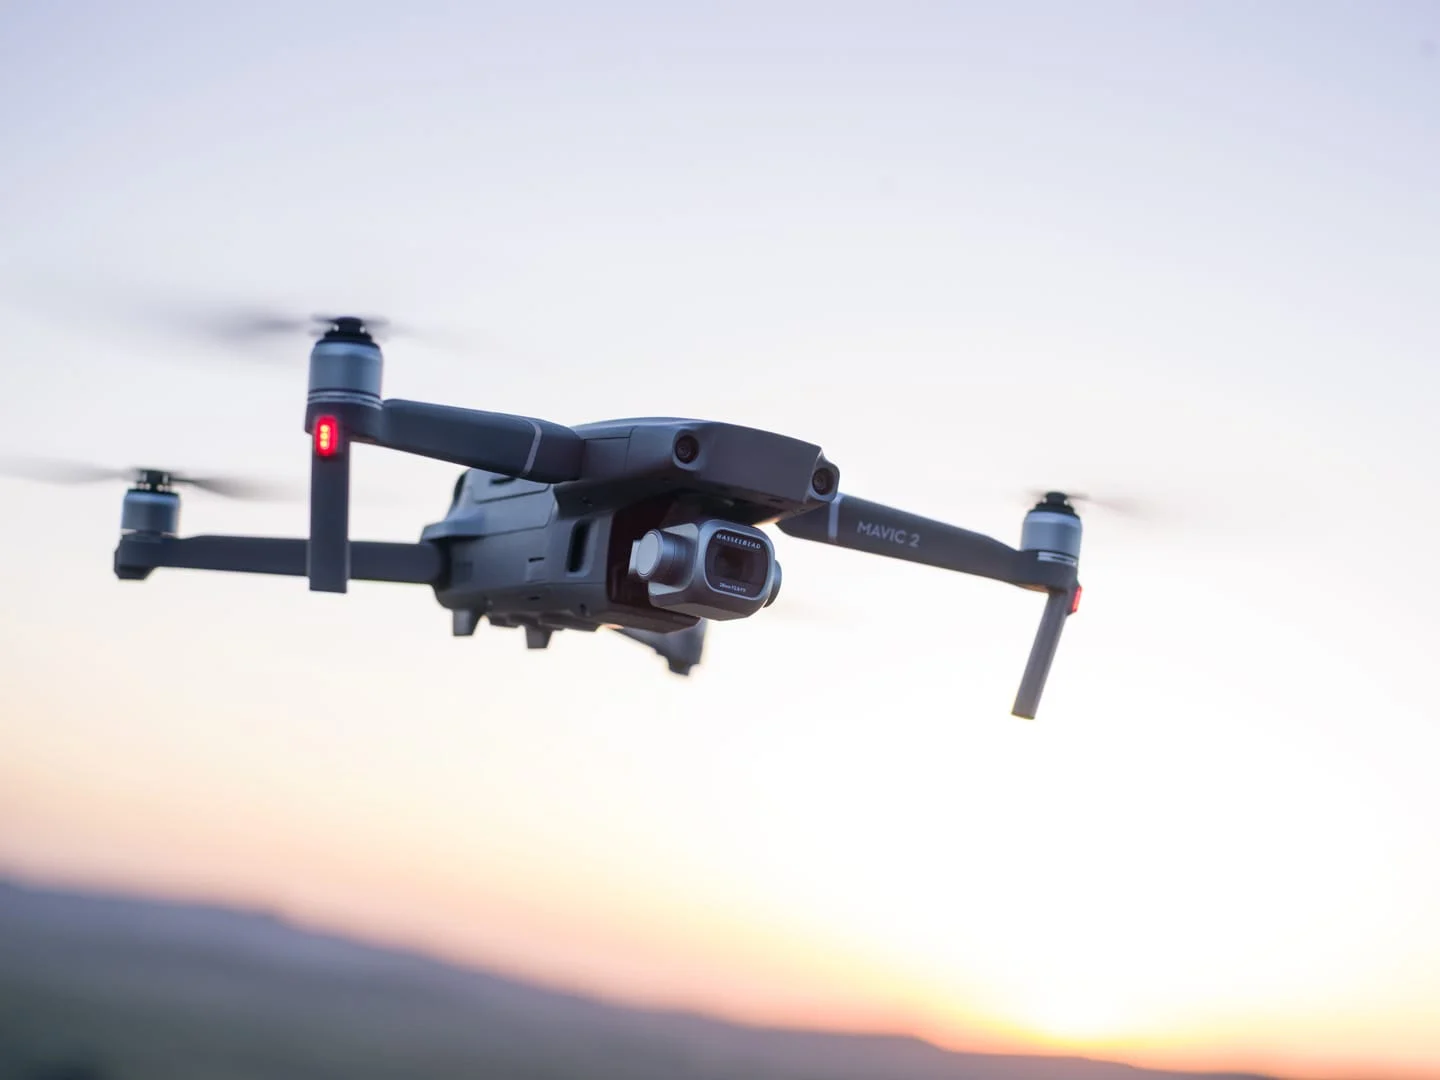
Aerial photography: DJI Mavic 2 Pro
The DJI Mavic 2 Pro adds an elevated viewpoint to the equipment available for my photography.
For architecture and property, an aerial photograph can explain relationships that are difficult to see from ground level: the arrangement of buildings, the shape of a plot, or the connection between a residence, its outdoor spaces and the surrounding landscape.
Height alone does not make an aerial photograph useful. A very high view may describe the location while losing the character of the building. A lower, more considered angle may communicate its form and setting more effectively.
The same questions still apply: what is the subject, what supports it, and what should remain outside the frame?
You can explore the wider role of this viewpoint in my landscape and aerial photography services.
Filters: controlling light with a purpose
My NiSi 100mm filter system includes graduated neutral density, neutral density and polarising filters. These address different photographic problems; they are not interchangeable finishing effects.
Graduated neutral density filters
A graduated neutral density filter reduces light across part of the frame. It can help balance a bright sky against a darker foreground.
Its transition needs to suit the scene. An uneven skyline, a tall building or trees extending into the sky may also be darkened by the filter. The decision requires looking at the actual arrangement of the image rather than assuming that every bright sky needs the same treatment.
Neutral density filters
A neutral density filter reduces the amount of light reaching the camera across the frame. One use is to allow a longer exposure when there is otherwise too much light.
That changes how movement is described. Flowing water may become softer, while moving clouds or people may leave traces through the image.
A longer exposure is a choice about appearance, not an automatic improvement. Sometimes texture and movement are better communicated by retaining more definition.
Polarising filters
A polarising filter can reduce certain reflections and alter how surfaces appear. This can help reveal detail beneath glare on water, glass or foliage, depending on the viewing angle and the direction of the light.
Reflections are not always distractions, however. They may explain the transparency of a window, the finish of a material or the relationship between a building and its surroundings.
The important decision is how much reflection to retain. Removing it completely can take away part of what makes the surface recognisable.
What the equipment list cannot show
Equipment expands the available choices. Observation gives those choices a purpose.
A photograph may improve more through a quieter foreground, a better camera position or a few moments of waiting than through a different lens. Recognising that requires looking beyond the main subject and paying attention to the whole frame.
For commissioned work, the process also begins with understanding the purpose of the images. An architect documenting a completed building, a hotel presenting the guest experience and a designer showing materials may need different views of the same space.
My guide to planning an architectural photography brief explores how those priorities can be established before the photography begins.
The tools help me respond. The thought process—taking time, observing carefully and deciding what matters—remains the most important part.
Explore my selected projects to see how those decisions come together in finished photographic work.
Follow me on Instagram for more photography, and feel free to connect with me there.