
How to Prepare Your Property for an Architectural Photoshoot

Preparing a property for photography involves more than cleaning and arranging cushions. The space needs to be ready to communicate its architecture, interior design and intended use, without unfinished work or everyday distractions competing for attention.
For architects, interior designers, hotel teams and villa owners, the aim is not to make every room look empty or heavily styled. It is to present the property accurately and thoughtfully, with enough preparation that the photography can concentrate on light, composition and the relationships between spaces.
Agree on what the photographs need to show
Before preparing individual rooms, establish the purpose of the shoot. An architect may want to explain circulation, proportions and material transitions. A hotel team may also need to show how a room feels to a guest, what facilities it offers and how it connects to a terrace or view.
These priorities affect what should remain visible. A distinctive chair, a carefully selected rug or a bespoke light fitting may be central to the design rather than something to remove.
Share the areas that matter most, any features requiring particular attention and the intended use of the photographs. For a more detailed planning framework, see how to prepare an architectural photography brief.
Finish the work before the photography begins
Cleaning, maintenance and installation should be completed before the scheduled photography, not alongside it.
Check for missing furniture, unfinished paintwork, protective coverings, exposed temporary cables and incomplete landscaping. A room may appear ready in isolation while construction materials remain visible through its windows.
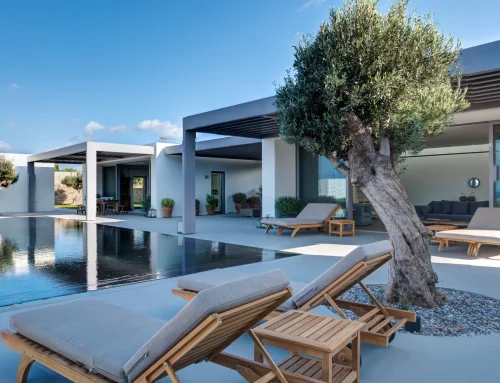
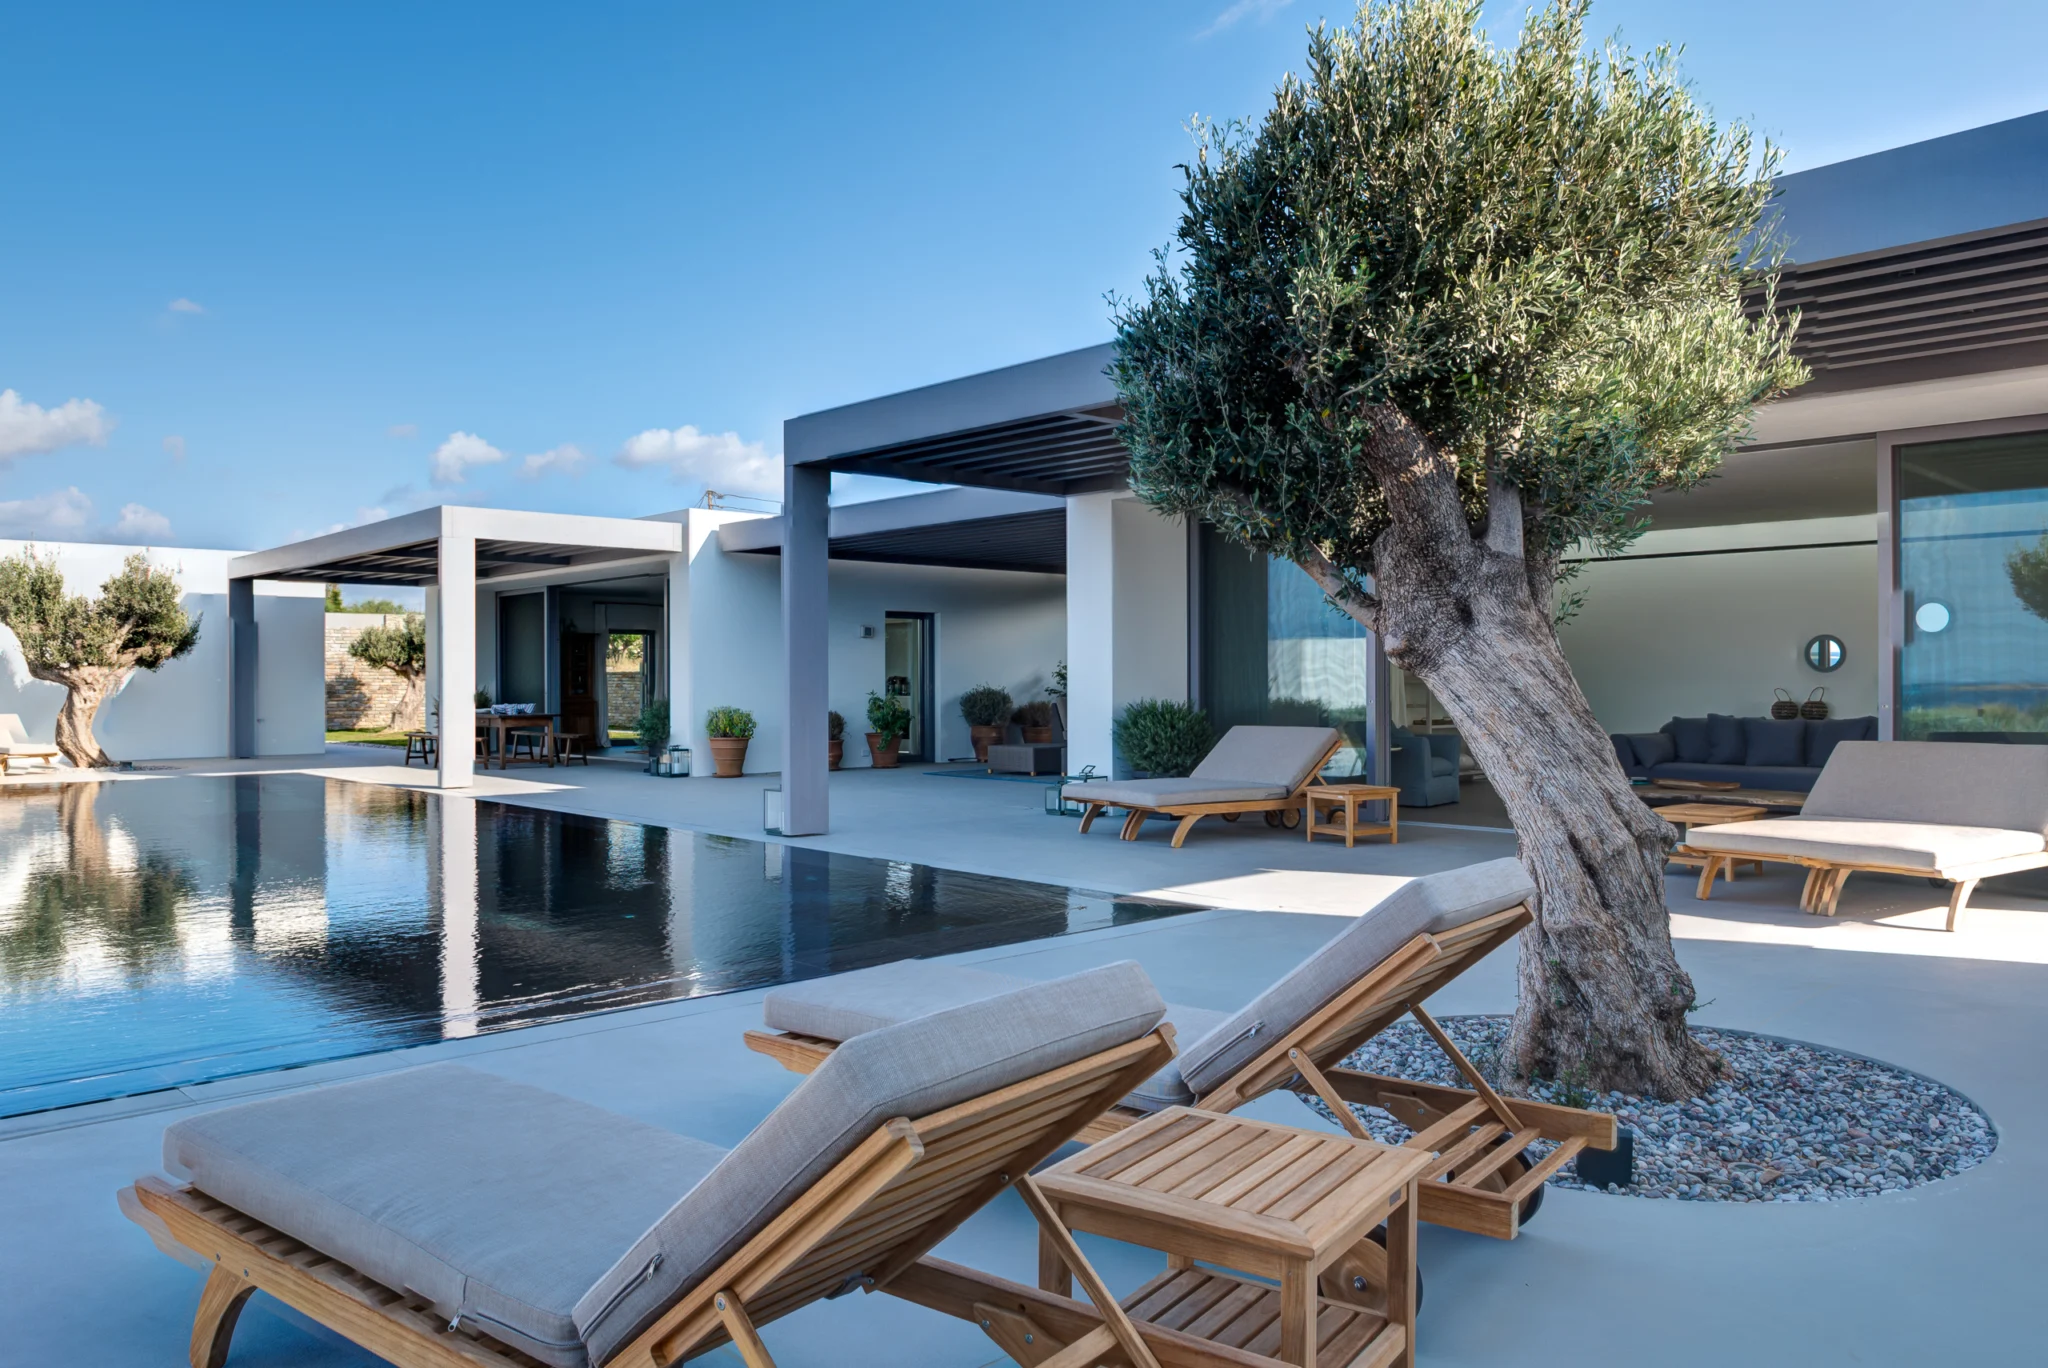
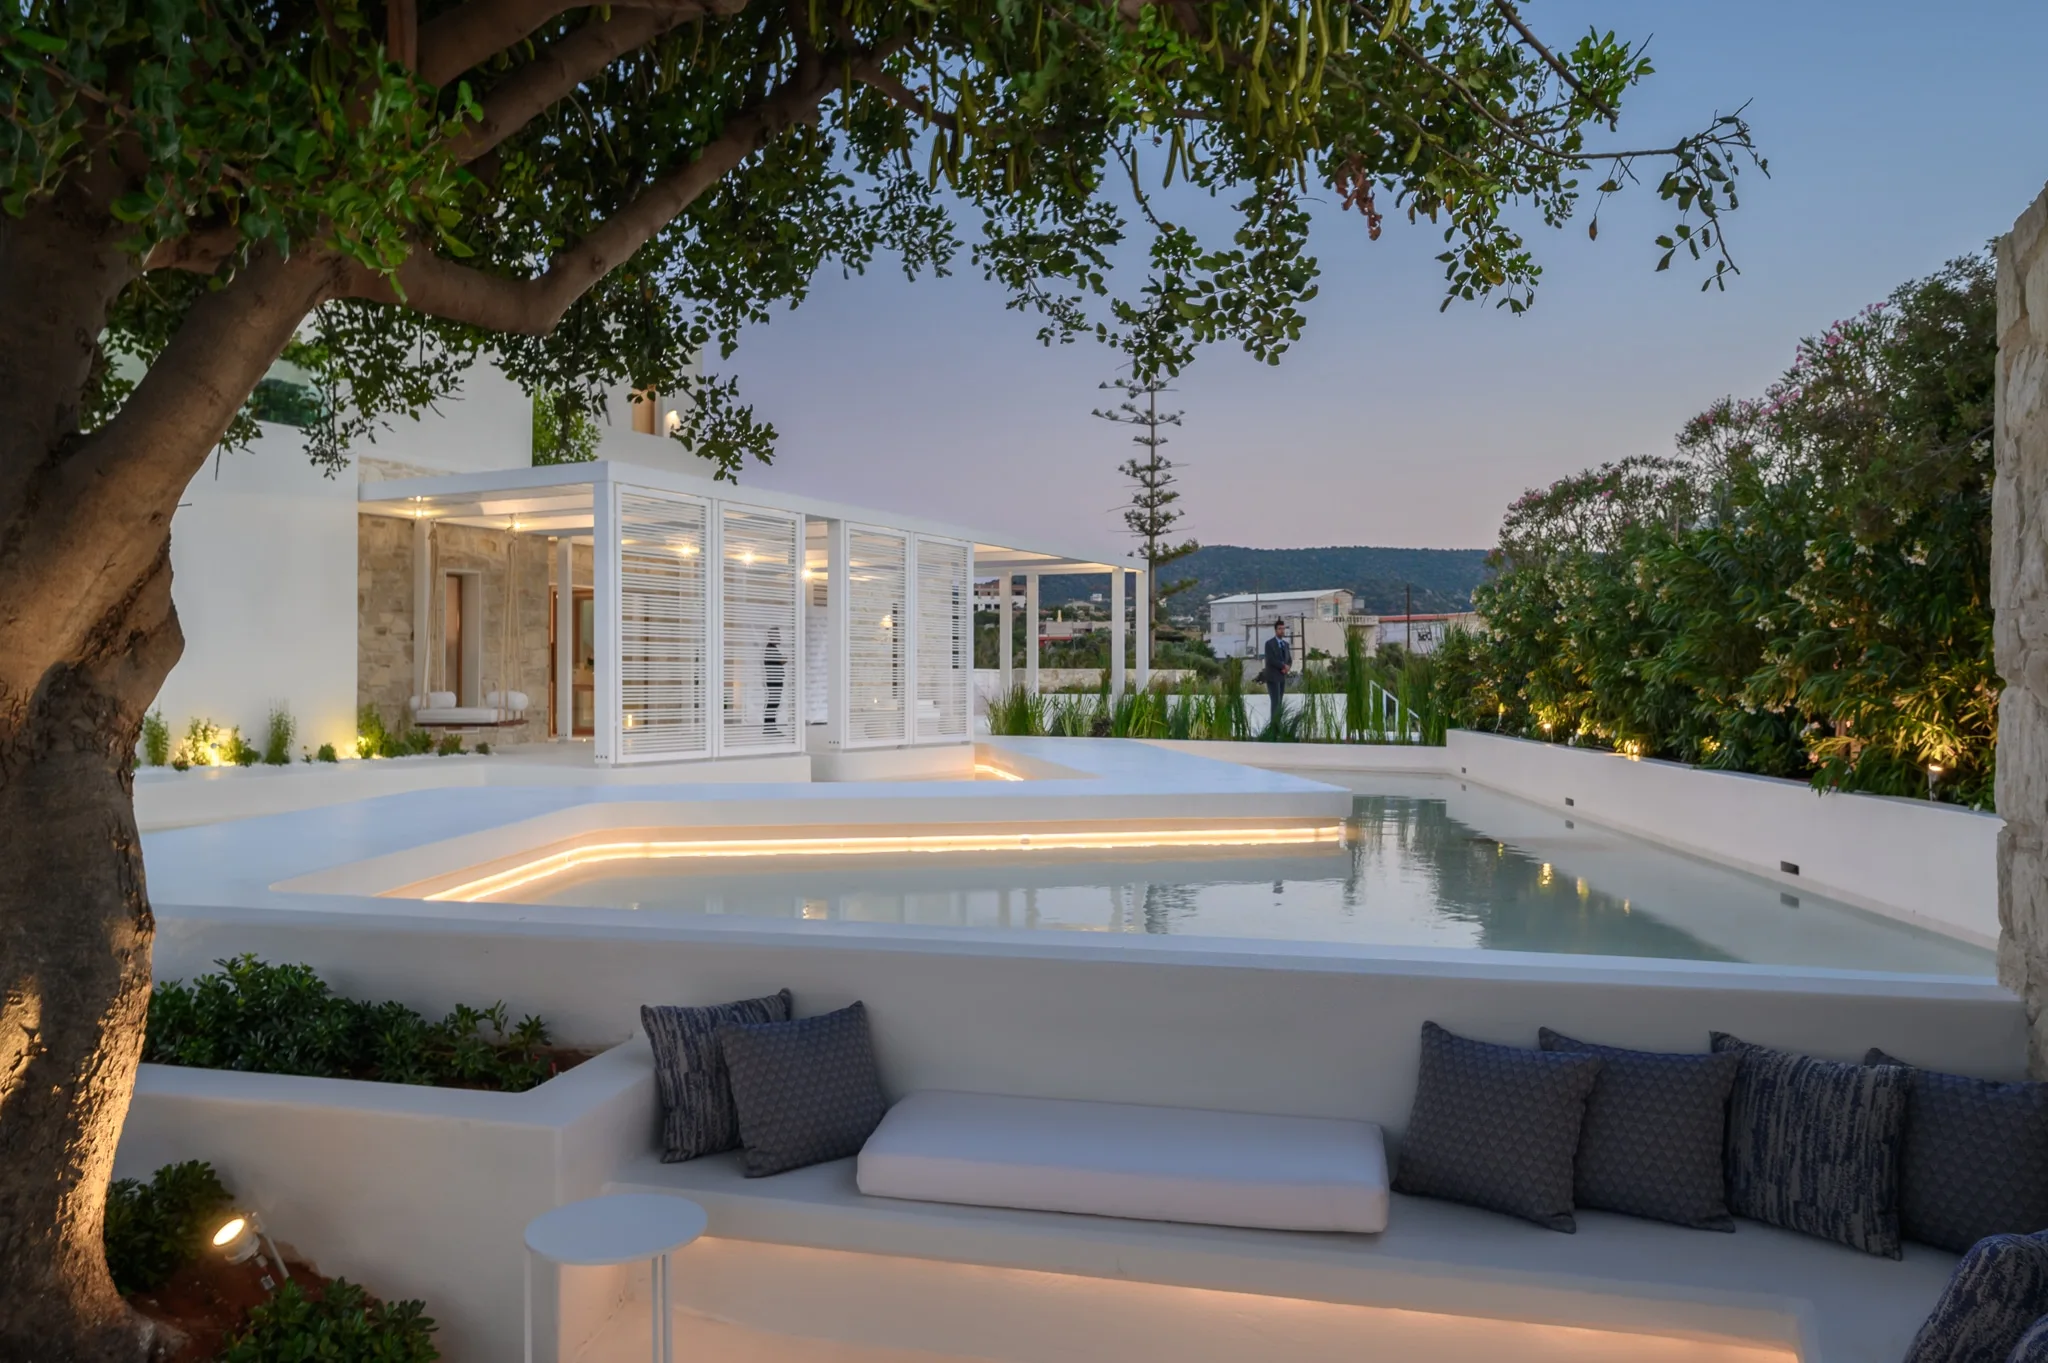
For hotels and villas, outdoor readiness deserves the same attention as the interiors. Pools, terraces, planting and outdoor furniture often occupy a substantial part of the photographs. Seasonal closures or furniture still in storage can limit what is possible to show.
If something will not be ready, tell the photographer in advance. It may be possible to adjust the priorities or photograph completed areas first, but that decision should be made with a clear understanding of what remains unfinished.
Clean for the camera, not only for everyday use
Glass, mirrors, polished stone and dark surfaces deserve particular care. Marks that are unobtrusive when walking through a room can become noticeable in directional light or reflections.
Clean windows on both sides where accessible, remove fingerprints from glazing and appliances, and check shower screens, taps and mirrors. Look beneath furniture and along the edges of rooms as well as at the main surfaces.
Remove temporary distractions such as cleaning products, packaging, chargers, loose cables, bins and personal belongings. Give these items a designated storage area outside the rooms being photographed. Moving the same clutter from one room to the next can interrupt the sequence of the shoot.
In occupied homes, put away private documents, personal photographs and valuables where appropriate. In hotels, check desks, noticeboards and screens for guest information before photography begins.
Style the property without losing its character
Good preparation should make the design easier to read. It should not make different properties look interchangeable.
Keep objects that contribute to the space and remove those that distract from it. Books, artwork, ceramics and textiles can give an interior context, provided their placement feels deliberate rather than crowded.
Avoid automatically adding wine bottles, elaborate breakfast settings or flowers to every room. These choices should suit the property and the purpose of the images. For hospitality photography, a styled scene should also represent an experience the property can genuinely provide.
If an interior designer, stylist or marketing team is involved, agree on the visual direction and who will approve the presentation before the shoot. Significant furniture changes should be discussed rather than made simply to create the impression of a larger room.
Prepare each room with its purpose in mind
Living and dining areas
Straighten cushions, smooth upholstery and remove distracting everyday items. Check the relationship between sofas, chairs and tables, allowing the layout and routes through the room to remain clear.
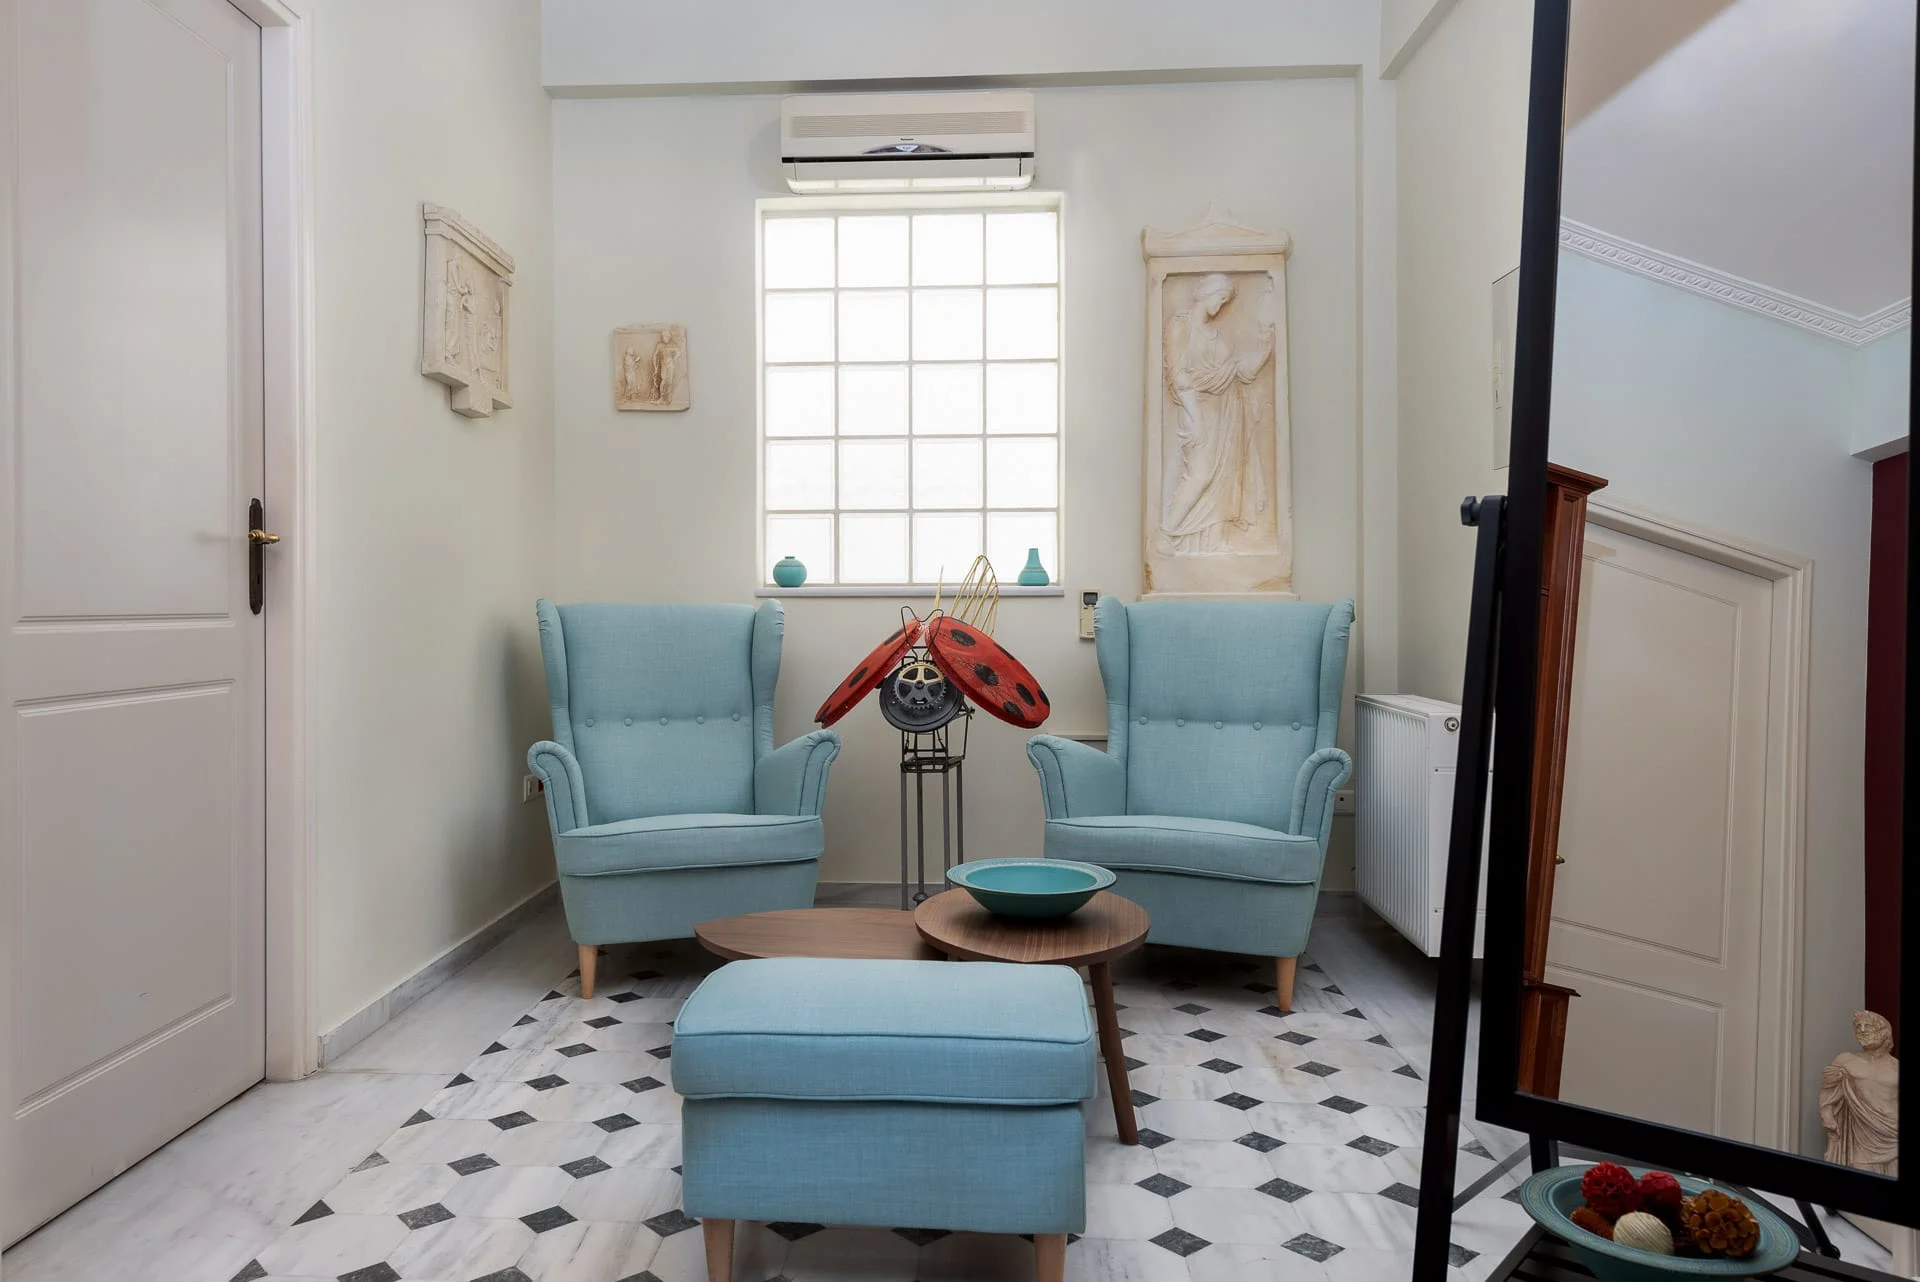
Retain rugs and furniture that belong to the interior design. Their removal is not automatically an improvement: a rug may define the seating area, while a chair may explain how a corner is used.
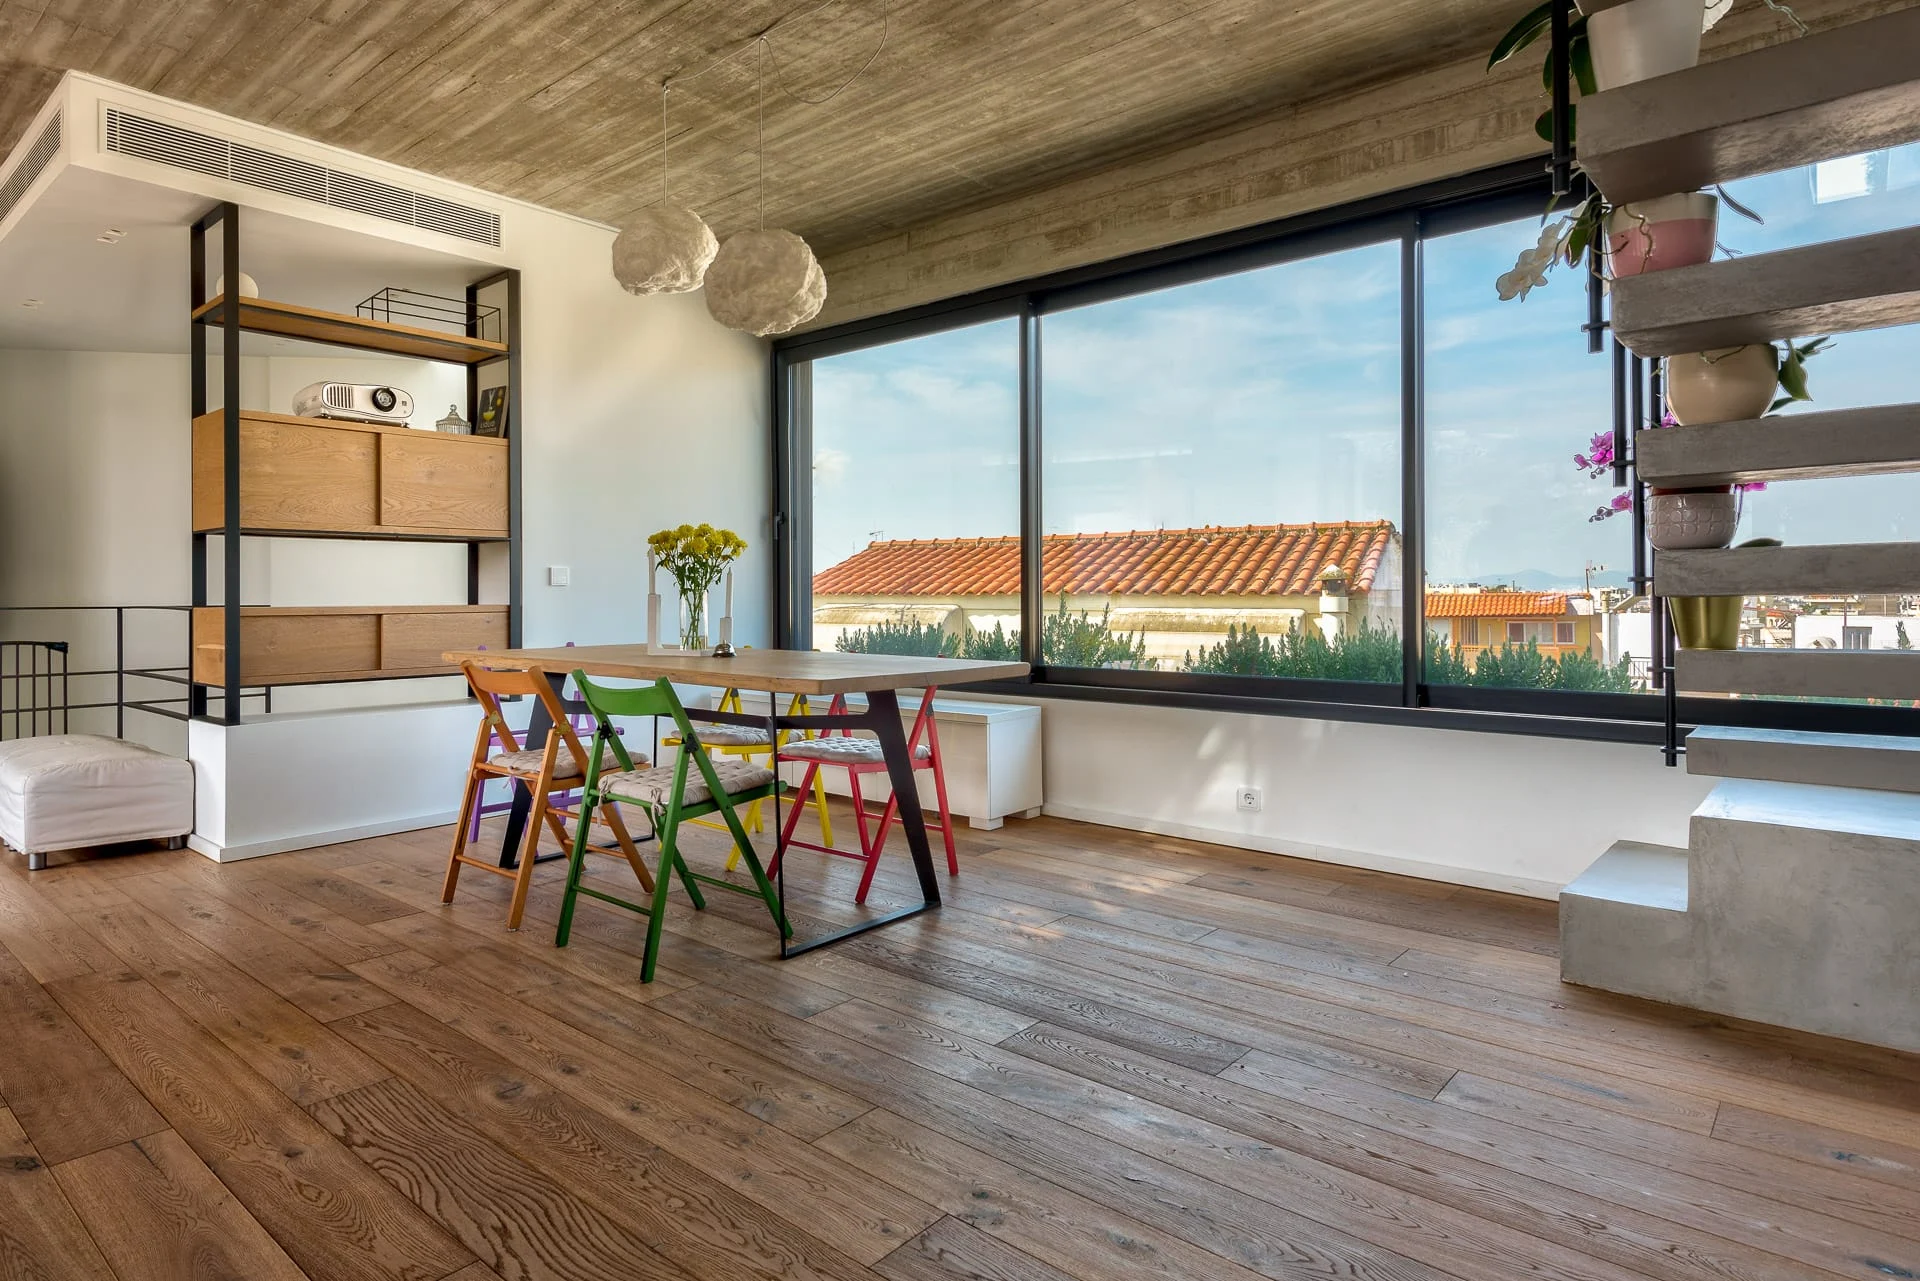
For dining areas, decide whether an uncluttered table or a prepared setting better serves the brief. A full place setting may suit a hospitality scene, but it can obscure the table, materials or proportions in a photograph intended to document the interior.
Kitchens
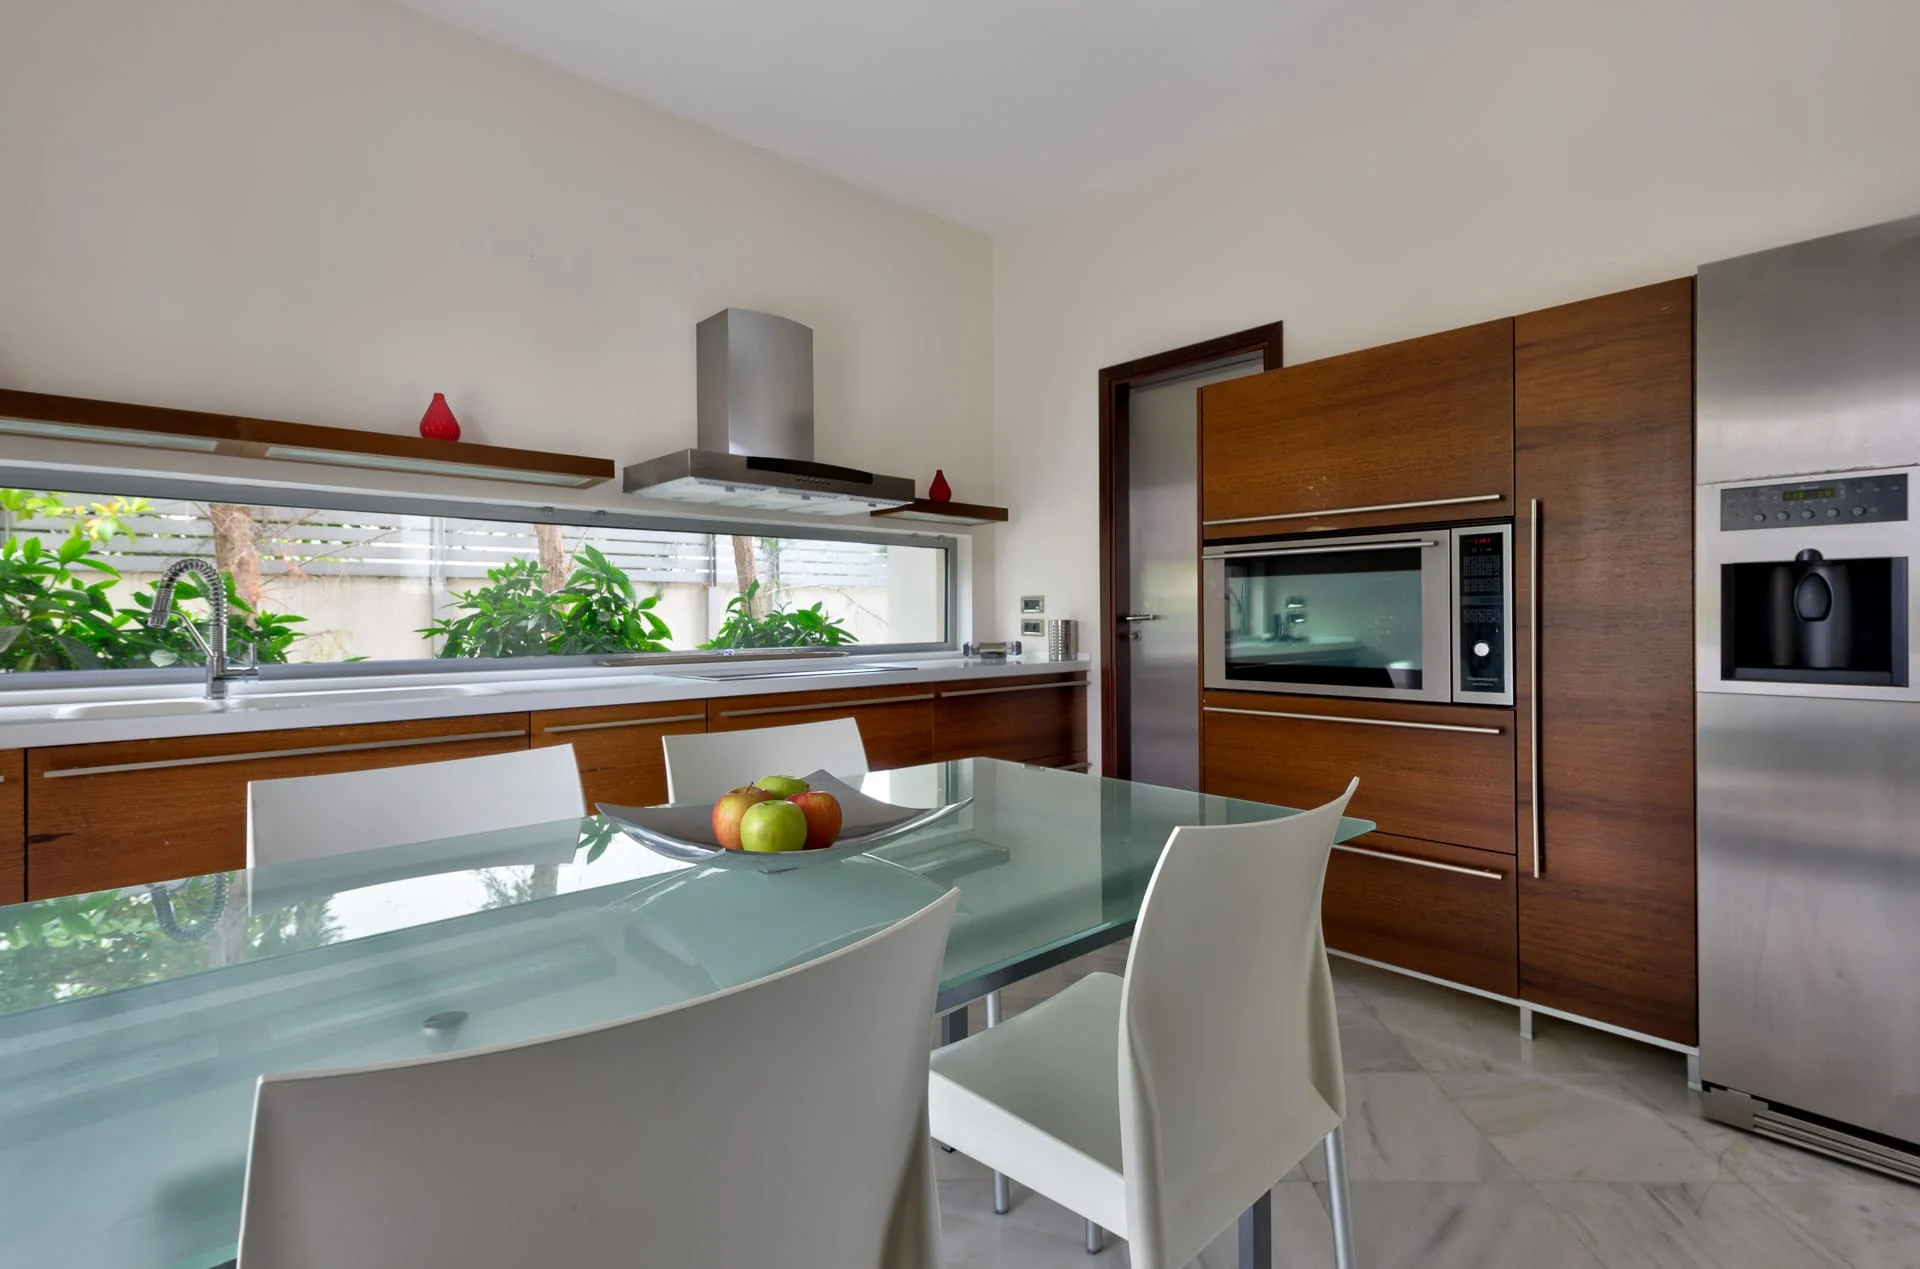
Clean worktops, splashbacks, appliances and sinks. Remove washing-up items, loose packaging, bins and unnecessary countertop clutter.
Keep selected objects where they support the presentation. The goal is not necessarily a completely bare kitchen, but a clear view of its layout, surfaces and finishes.
Check reflective appliance doors and glazing for fingerprints. Where the kitchen opens onto a dining or living area, prepare those adjoining spaces too.
Bedrooms
Make beds carefully, with well-fitting linen that suits the property’s design or brand. Smooth visible creases, align pillows and check that bed bases and under-bed storage do not draw attention.
Clear bedside tables of personal items and charging cables. Check curtains, lamps and the area around the bed, including anything reflected in a mirror.
For hotels, coordinate the room selection in advance. The team should know which room categories are being photographed and when those rooms must be available.
Bathrooms
Clean mirrors, shower screens, fittings and sanitaryware thoroughly. Remove personal toiletries, cleaning products and used towels, and close toilet lids.
Do not automatically remove every towel or amenity. Neatly presented towels and the property’s own guest products may be appropriate for hotel or villa photography. Their quantity and arrangement should match the agreed presentation.
Check reflections from the doorway as well as from within the room. Objects outside the immediate view may still appear in a mirror or glass partition.
Check lighting, curtains and access to daylight
Test the interior and exterior lighting before the shoot, including bedside lamps, concealed lighting, pool lights and landscape fixtures. Report failed fittings or visibly mismatched replacement bulbs.
Make sure curtains, blinds and shutters operate properly. Clean glazing and accessible window coverings give the photographer options; they do not all need to remain fully open throughout the session.
More light is not always better. Direct sunlight can reveal texture and depth, but it can also produce strong contrasts or reflections that obscure a surface. The right treatment depends on the room, its orientation and what the photograph needs to communicate.
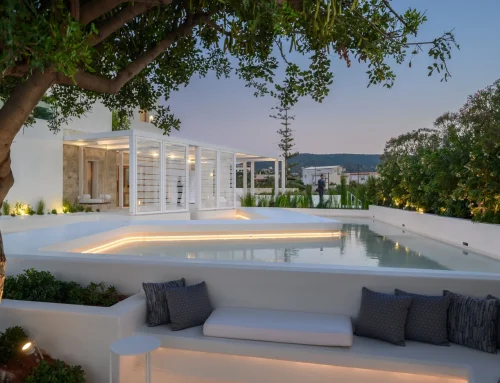
Avoid committing the entire schedule to a single preferred time such as sunset. Different spaces may need attention at different points in the day. Where twilight photography is planned, arrange access and lighting controls before daylight fades.
Prepare terraces, pools and gardens as part of the same property
Outdoor spaces should feel connected to the interiors, especially when doors and large windows bring both into the same composition.
Clean the pool and surrounding surfaces, arrange outdoor furniture and check cushions, parasols and planting. Remove maintenance equipment, hoses, waste bins, stored covers and temporary signs from the areas to be photographed.
Keep furniture arrangements plausible and useful. A terrace should still read as a place where someone can sit, move around and enjoy the setting, rather than a collection of objects positioned only for the camera.
Coordinate gardening, pool maintenance and cleaning so these activities do not conflict with the shoot. Tell the photographer about seasonal limitations or ongoing exterior work, and agree on how unsuitable weather will be handled.
Organise the people and access needed on the day
Nominate one person who can answer questions and make practical decisions. This may be the owner, architect, property manager or a member of the hotel team.
That person should know how to access the agreed rooms, operate lighting and blinds, and arrange any necessary assistance. Heavy or valuable furniture should only be moved by appropriate personnel.
For operating hotels, coordinate photography with housekeeping, arrivals, restaurant service and guest access. For private residences, arrange a comfortable area for occupants and pets away from the rooms in use.
If you are commissioning the work from abroad, provide current photographs of the property and identify a local contact. Confirm who will check readiness and approve any last-minute presentation decisions.
A final readiness check
Before the photographer arrives, confirm that:
- The agreed rooms and outdoor areas are finished, clean and accessible.
- Furniture, linen and styling are complete.
- Windows, mirrors and reflective surfaces have been checked.
- Interior, exterior and pool lighting work.
- Clutter, private items and maintenance equipment have a storage location.
- The relevant staff or local contact know the schedule.
- Any unfinished work, weather concerns or access restrictions have been discussed.
Preparation should leave room for photographic decisions, not require the photographer to resolve basic housekeeping or incomplete installations.
The most useful next step is to share current photographs of the property, its location, the areas you want covered and the intended use of the images. Send me the project details so we can discuss the preparation and photographic approach appropriate to the space.